

This guide walks you through the recommended workflow for new Spark CRM users. By the end, you’ll have a fully configured account ready to process orders.
Recommended Workflow
Follow these steps in order for the smoothest setup experience:
- Connect a payment gateway
- Create your products
- Create a campaign
- Process your first order
Step 1: Connect a Payment Gateway
Before you can process payments, you need to connect at least one payment gateway.
Important: You must configure a payment gateway before you can process any orders. This is a required step.
Adding a Gateway
- Navigate to Payments > Gateways in the sidebar
- Click New Gateway
- Select your payment processor (e.g., Authorize.net, Stripe)
- Enter your gateway credentials:
- API Login ID / API Key
- Transaction Key / Secret Key
- Other processor-specific settings
- Click Create Gateway (the button reads Update Gateway when you are editing an existing gateway)
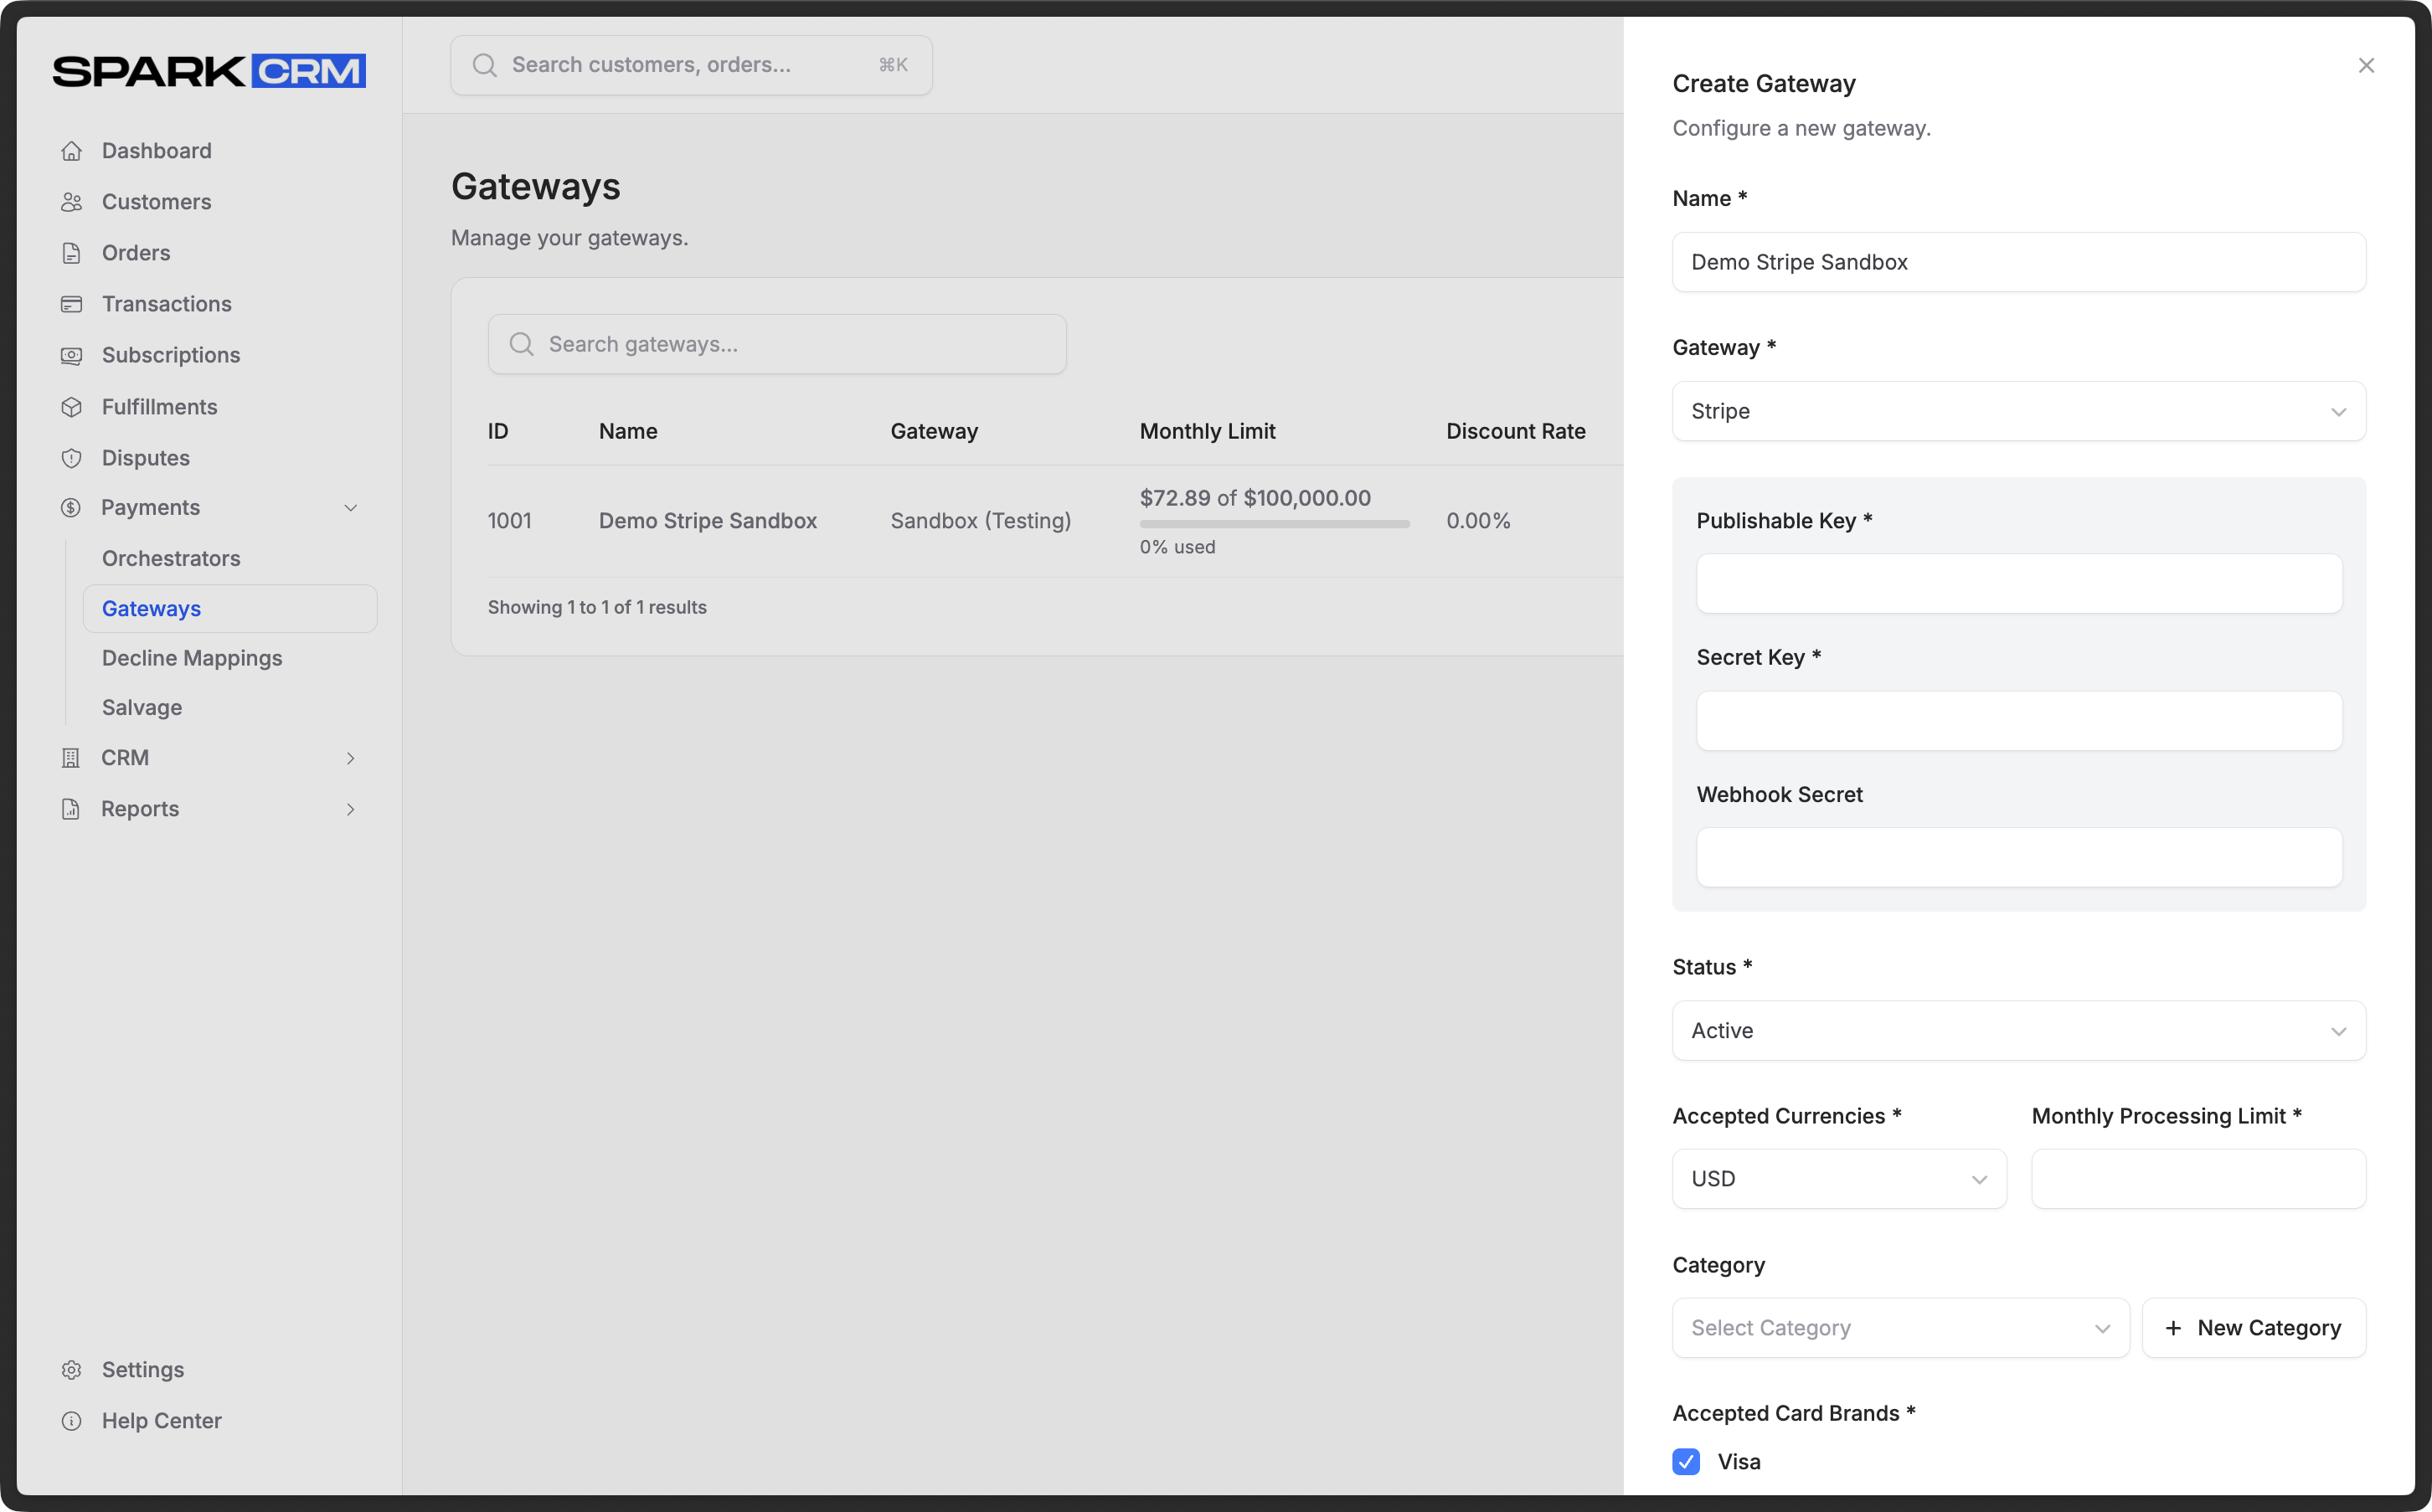 Screenshot: Payments > Gateways → New Gateway (credentials).
Testing Your Gateway
After saving a gateway:
- Open the gateway’s row menu and choose Connection Status, then click Test Now
- Verify the connection is successful
- If it fails, double-check your credentials
Tip: Start with a sandbox/test account to verify everything works before using production credentials.
Switching From Sandbox to Production
Warning: Never use production credentials until you’ve fully tested your setup with sandbox credentials. Real charges will be processed with production gateways.
- Add your sandbox gateway first and run a full test order
- Once successful, add a new gateway entry with production credentials
- Update active campaigns to point to the production gateway when ready to go live
Step 2: Create Your Products
Set up the products you’ll be selling.
Adding a Product
-
Navigate to CRM > Products in the sidebar
-
Click Add Product
-
Fill in the product details:
- Product Name - Product display name
- Price - Selling price
- Cost - Your cost (for profit tracking)
- SKU - Optional product identifier (not enforced unique)
- Quantity - Required; units per purchase
- Stock, Category, Active (plus Tax Code, shown only once a tax provider is connected)
Product type is not settable from this form - products created in the app default to physical. Use the Products REST API if you need to set
product_type. -
Set the Fulfillment Provider that will ship this product, and optionally an Est. Shipping Cost for profit reporting. The form does not branch by product type and there is no digital-delivery configuration.
-
Click Create Product (the button reads Update Product when you are editing an existing product)
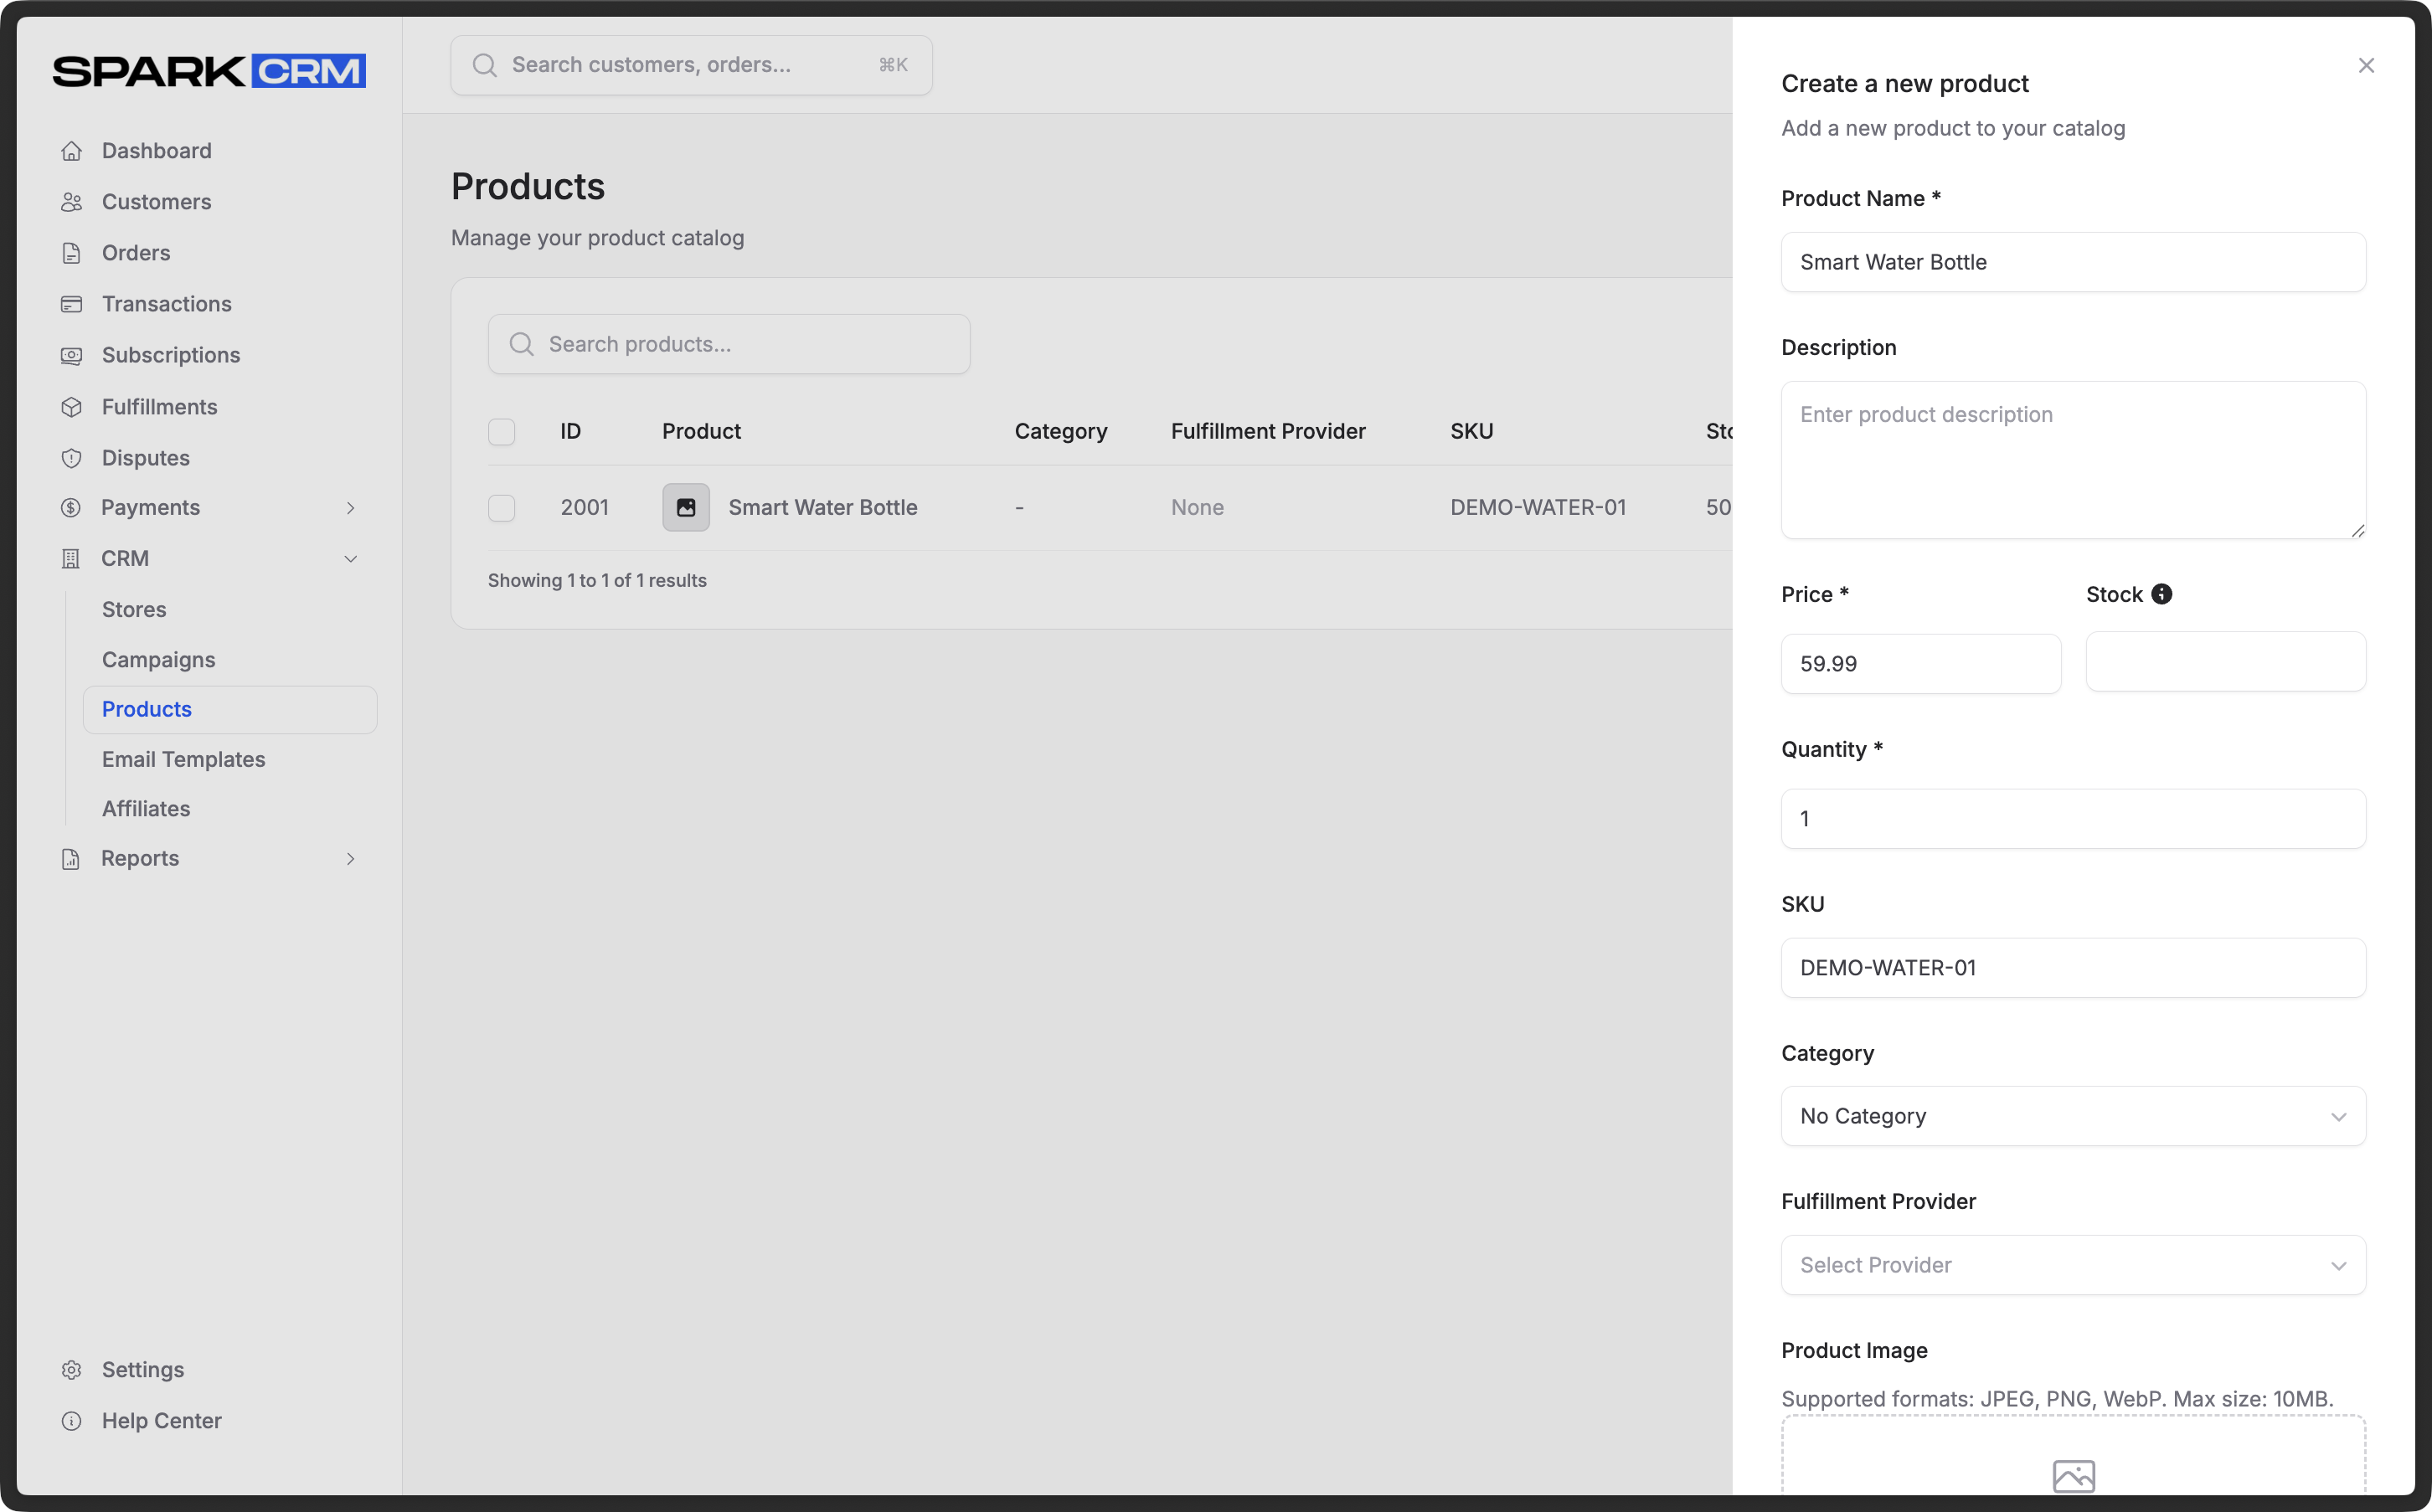 Screenshot: CRM > Products → Add Product (main fields and fulfillment).
Product Tips
Tip: Use meaningful SKU codes that help you identify products at a glance. For example: “BOOK-001”, “COURSE-ADVANCED-2024”.
- Add clear, descriptive product names
- Set accurate costs for profit reporting
- Configure inventory if you track stock levels
Step 3: Create a Campaign
Campaigns are your sales funnels - they define how products are sold.
Note: You can create a campaign at any time — only a name is required. You will need at least one product and one active payment gateway attached to the campaign before it can process an order.
Creating a Campaign
- Navigate to CRM > Campaigns in the sidebar
- Click Add Campaign
- Enter the Campaign Name and click Create Campaign
- You are taken to the campaign, where the rest is configured on its tabs:
- Offers tab - add the products this campaign sells
- Settings tab - pick a Default Gateway (and optionally a Payment Orchestrator)
- Affiliates tab - configure affiliate tracking for this campaign
- Configure optional settings on the Settings tab:
- Geographic restrictions
- Currency settings
- Decline salvage profile
- Click Save Changes
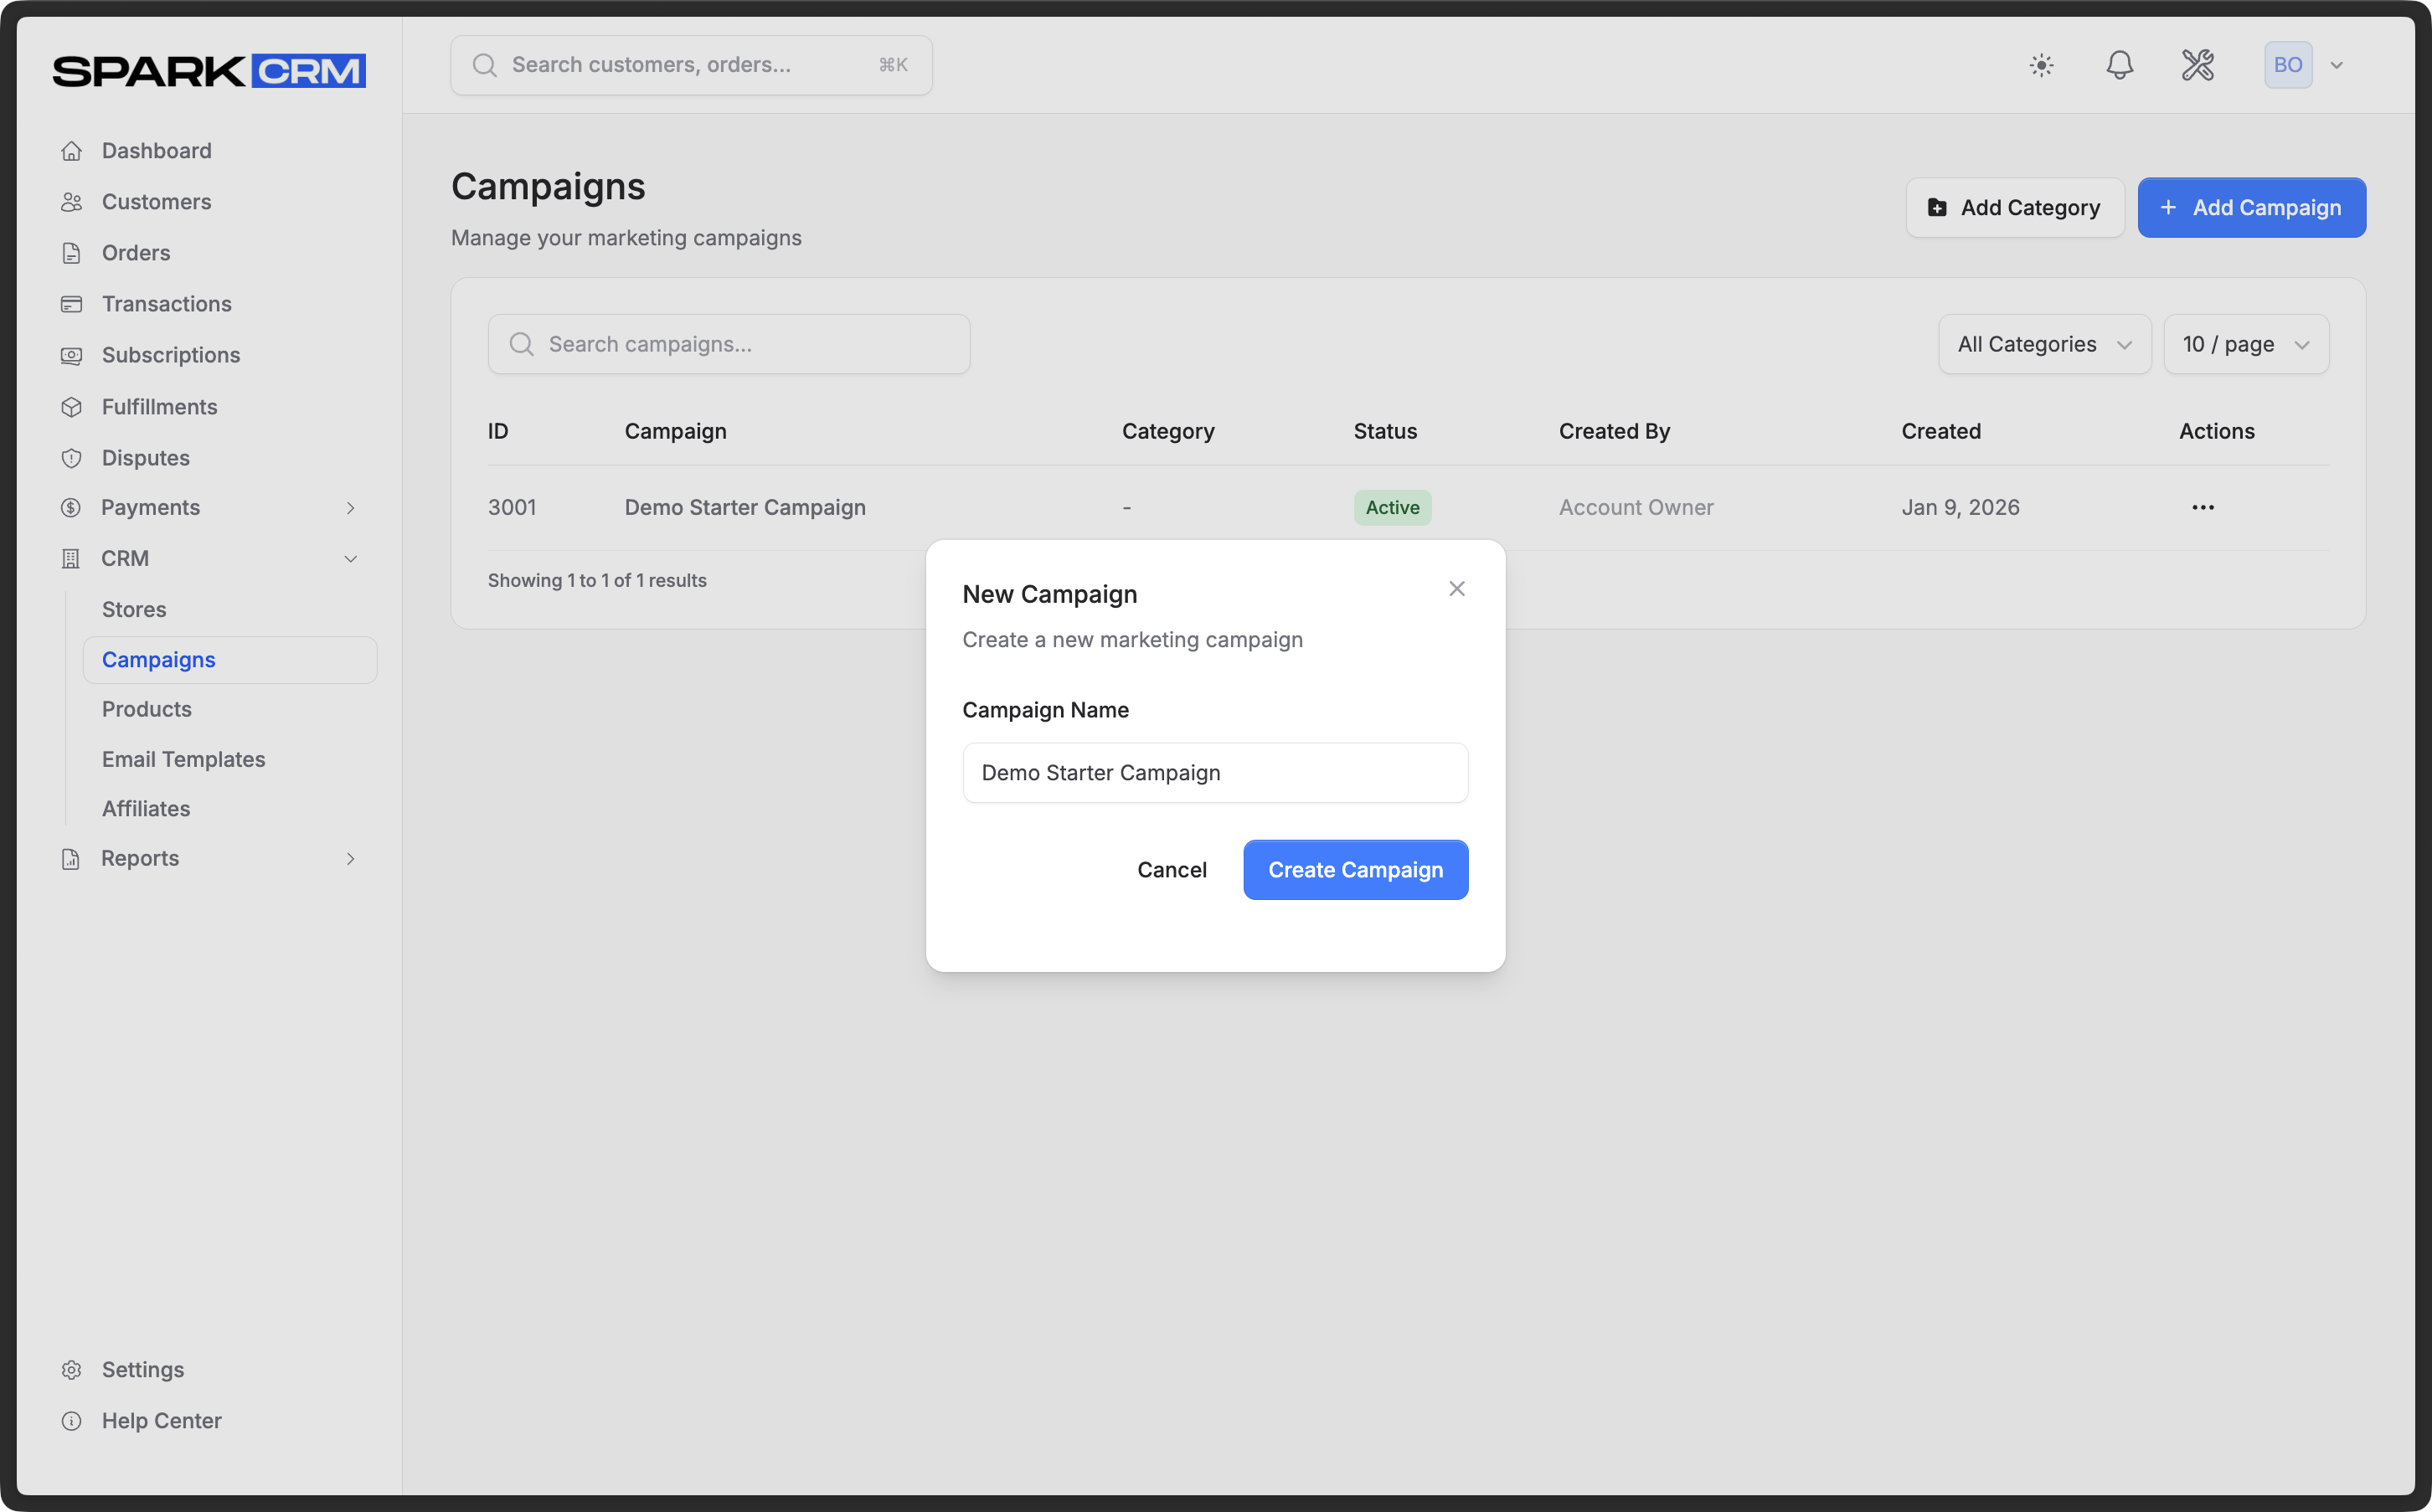 Screenshot: CRM > Campaigns → Add Campaign (campaign name).
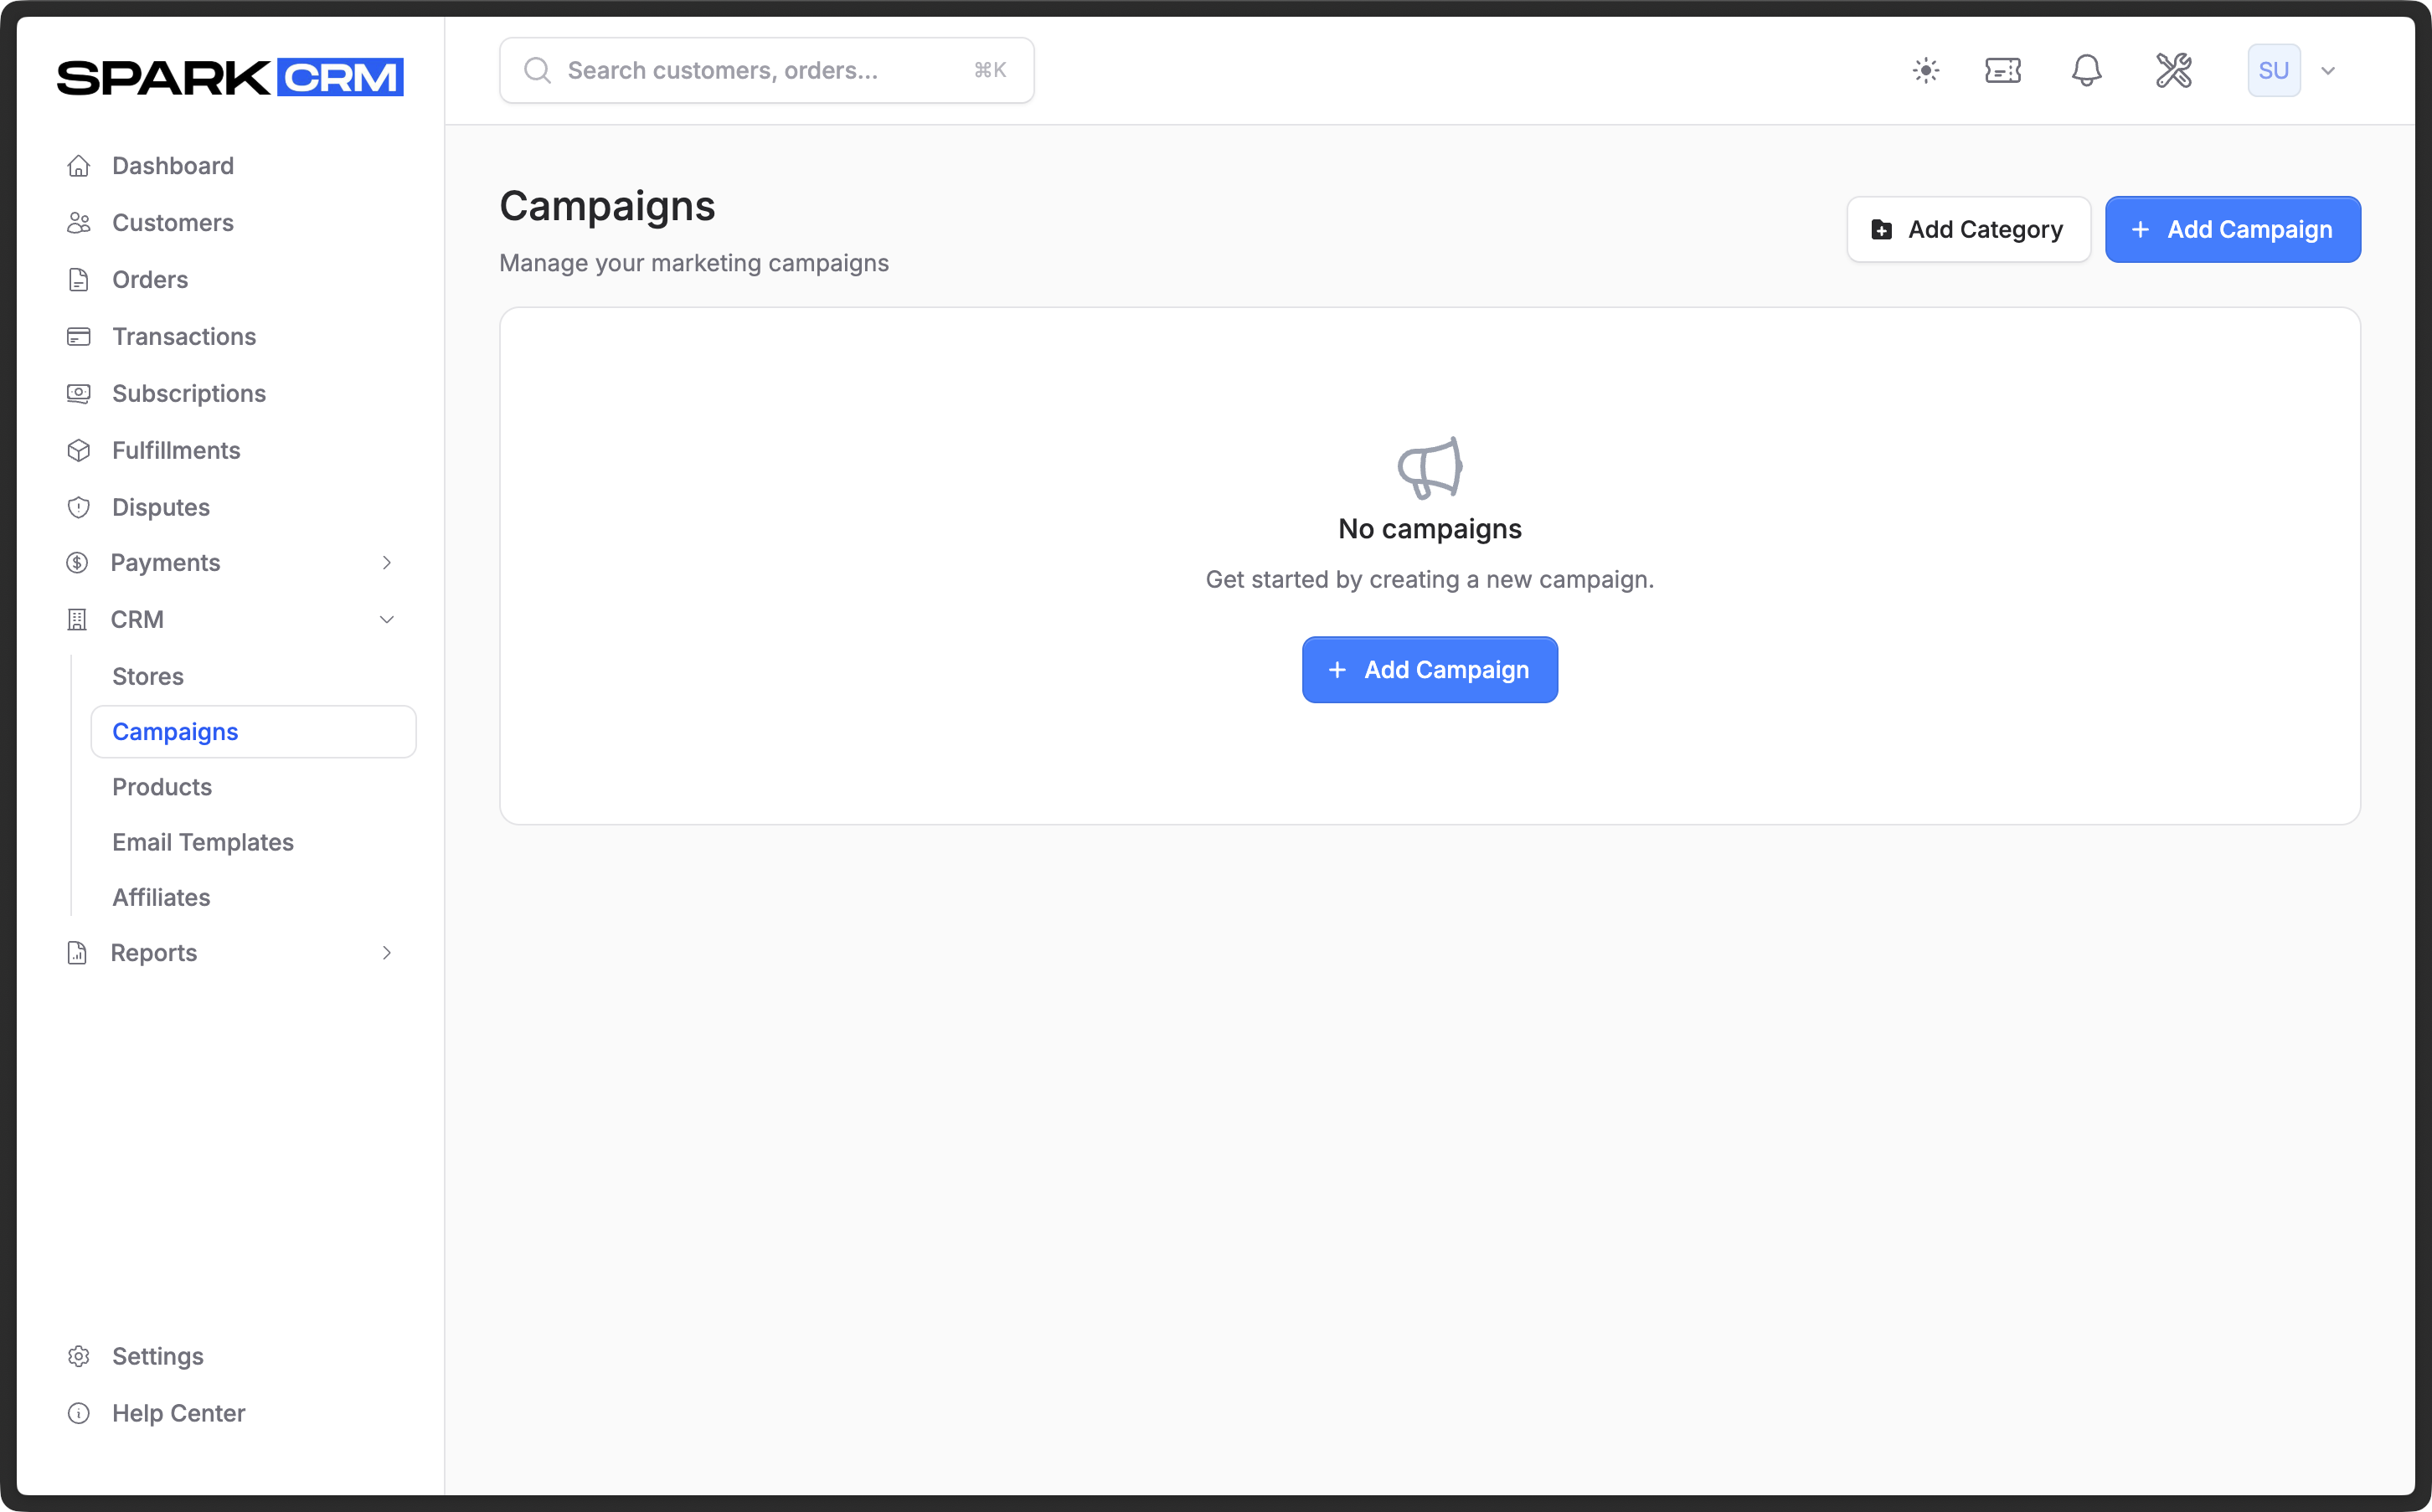 Screenshot: CRM > Campaigns showing all your active campaigns.
Campaign Tips
- Start with a simple campaign with one product
- Add upsells after testing the basic flow
- Configure decline salvage to automatically retry failed payments
Step 4: Process Your First Order
With a gateway, product, and campaign configured, you’re ready to process orders.
Creating a Test Order
- Navigate to Orders in the sidebar
- Click Create Order
- Enter customer information:
- First Name, Last Name, Email, Phone (or search for an existing customer)
- Shipping address - always required, regardless of product type
- Billing address - only if you clear “Billing address same as shipping”
- Select the campaign and products
- Enter payment details
- Submit the order
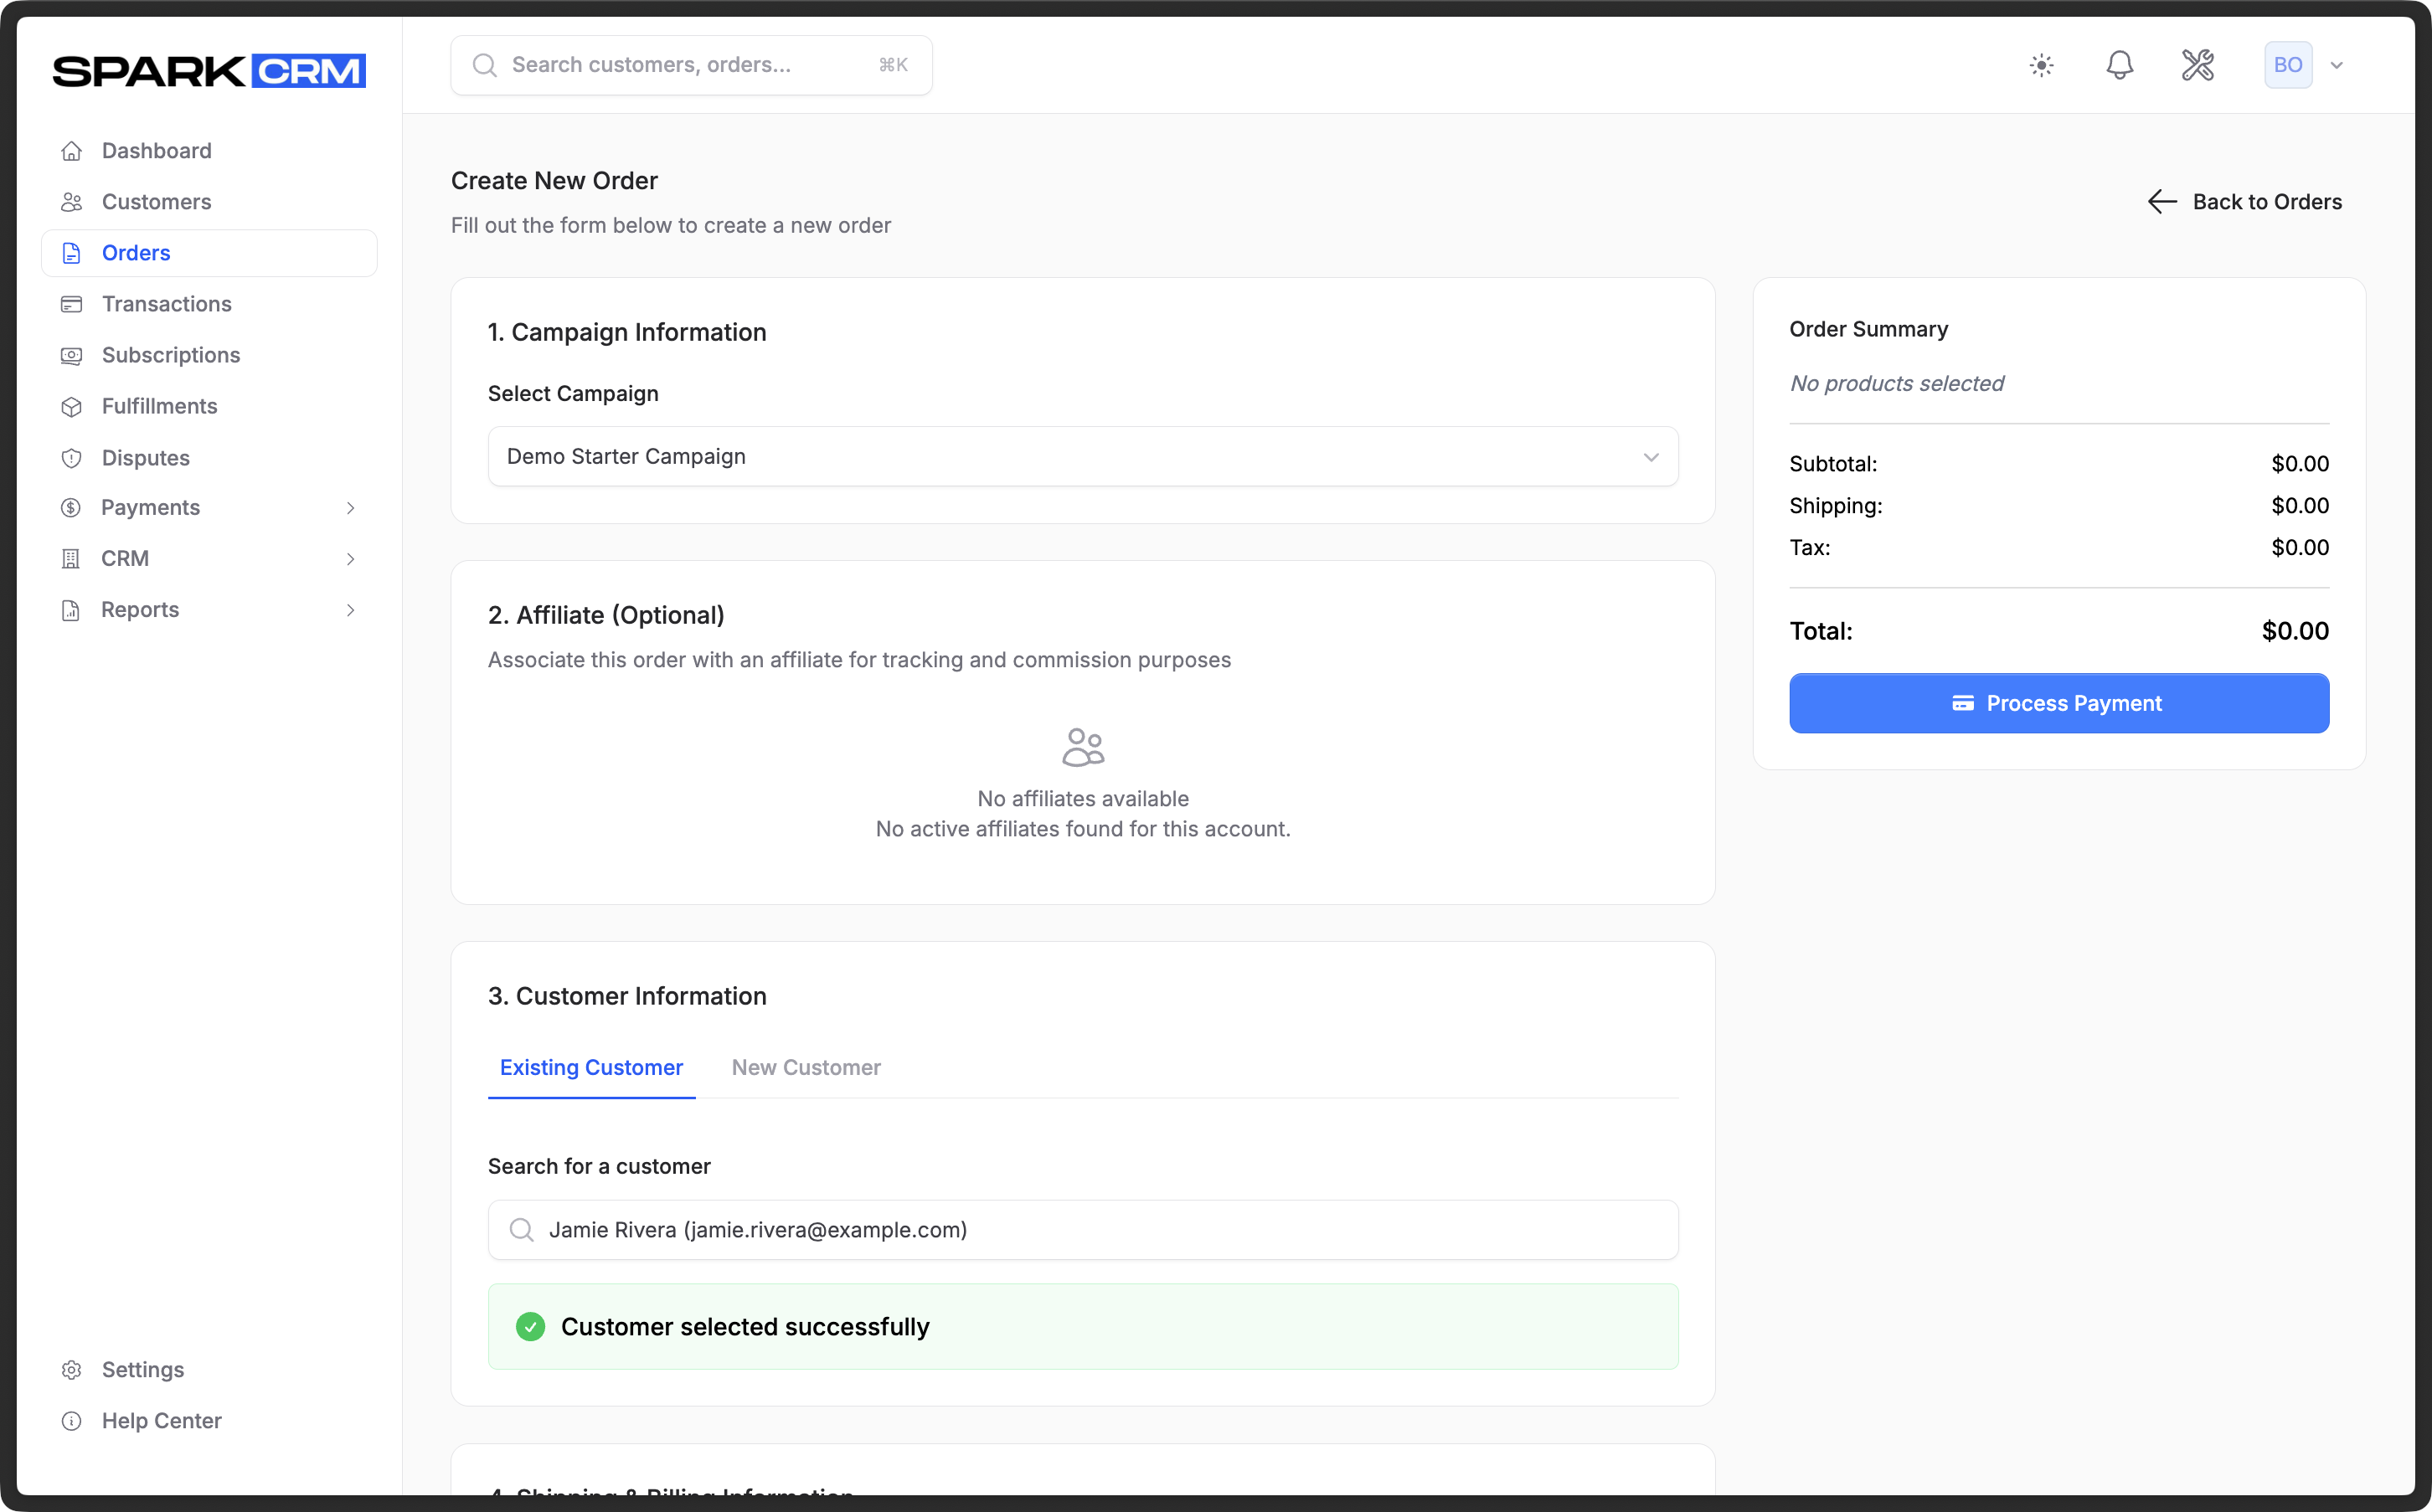 Screenshot: Orders → Create Order (customer, addresses, campaign/product, payment).
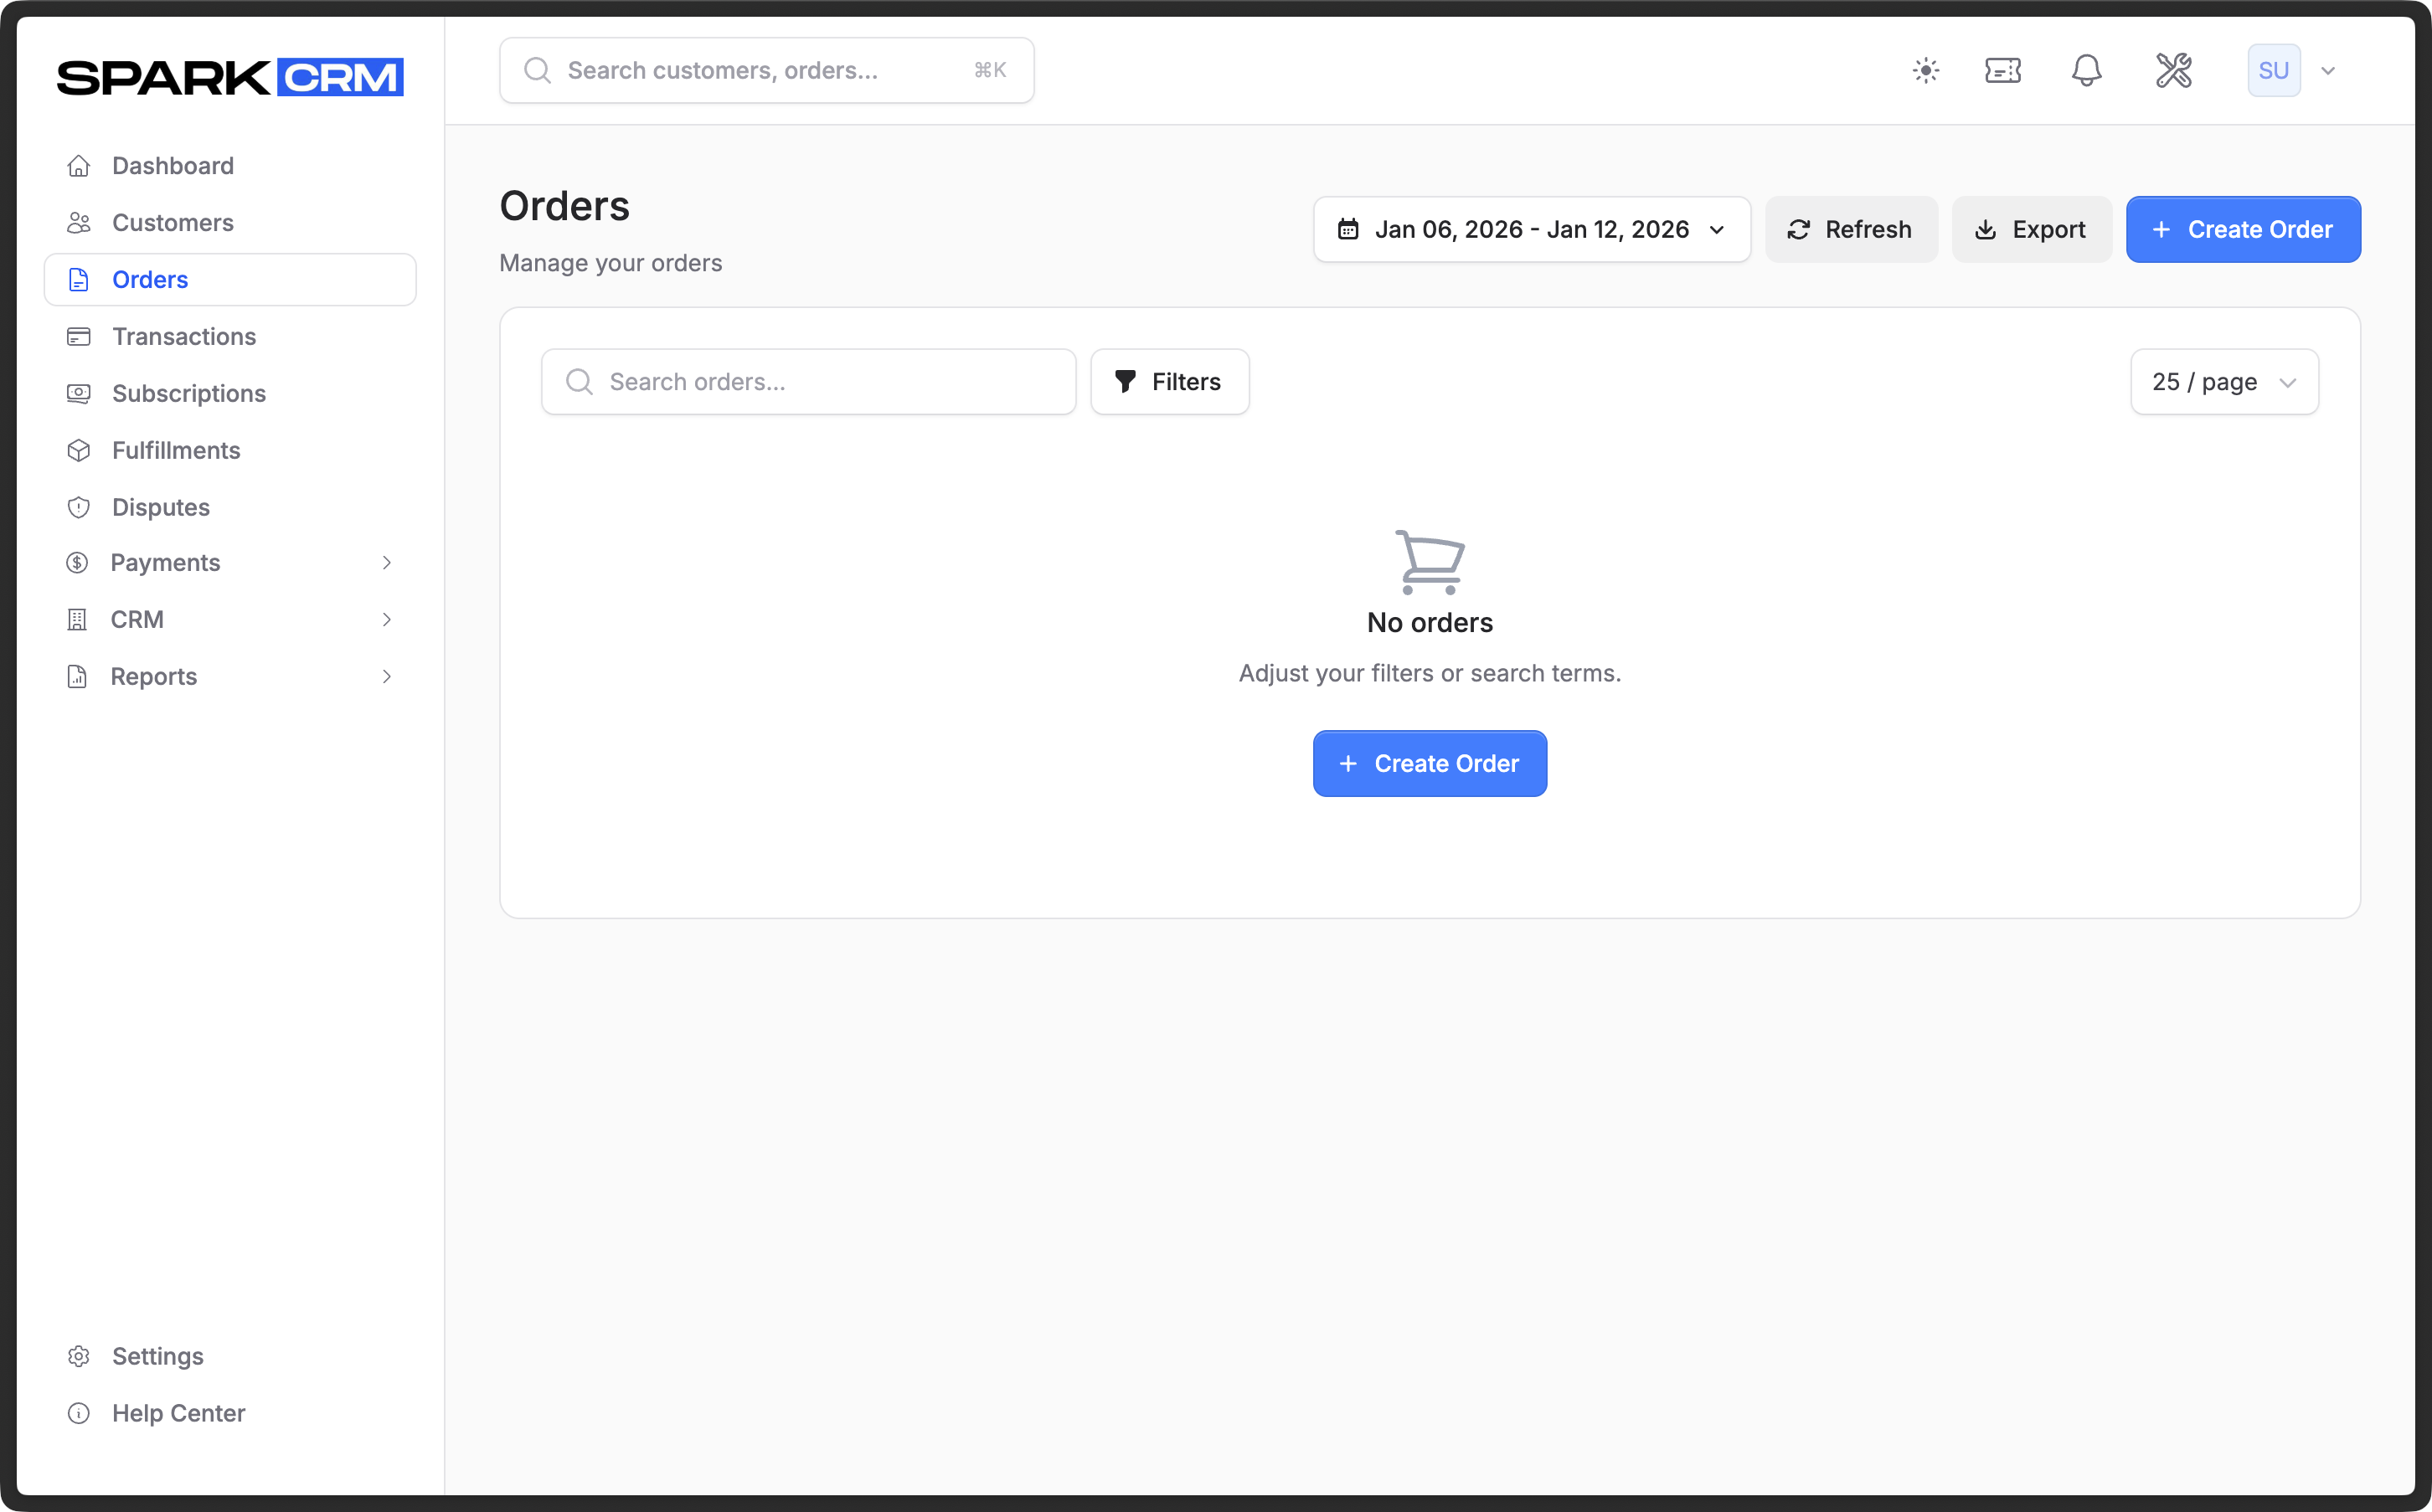 Screenshot: Orders list showing all orders with status and details.
Verifying the Order
After creating an order:
- Check Orders to see the new order
- Check Transactions to see the payment
- Check Fulfillments to see delivery status
- Check Customers to see the customer record
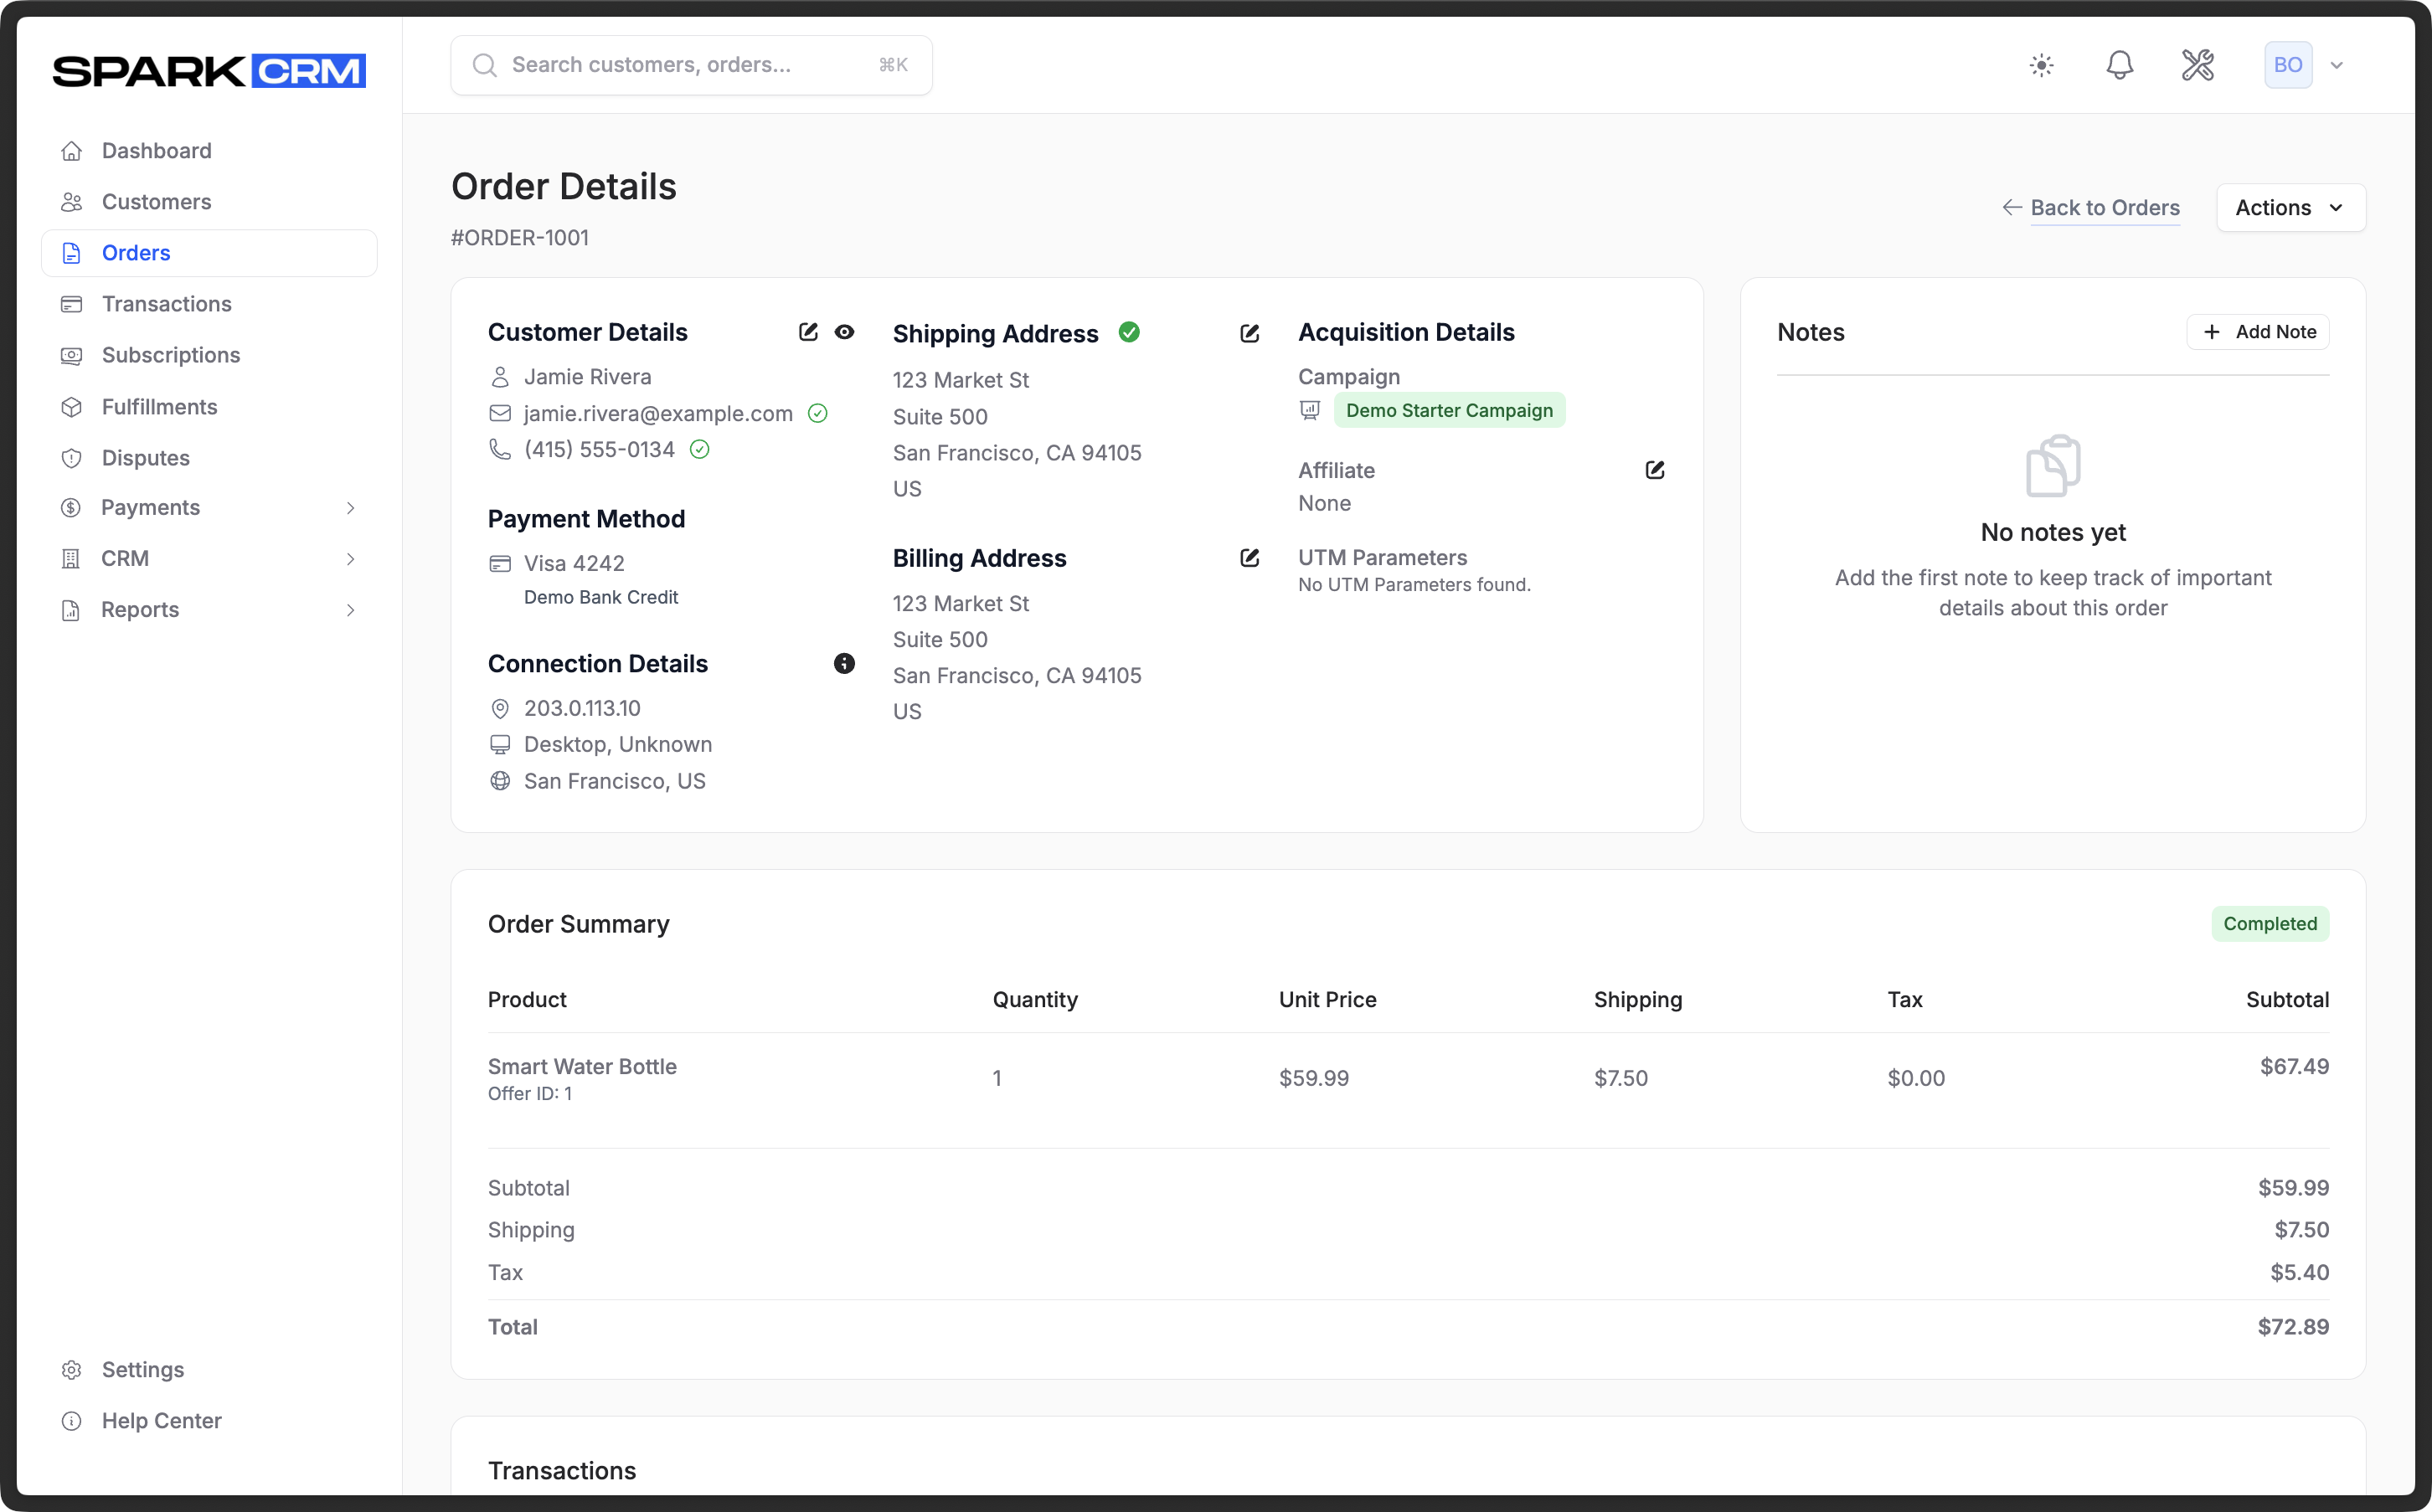 Screenshot: Orders → Order detail (status, items, link to transactions).
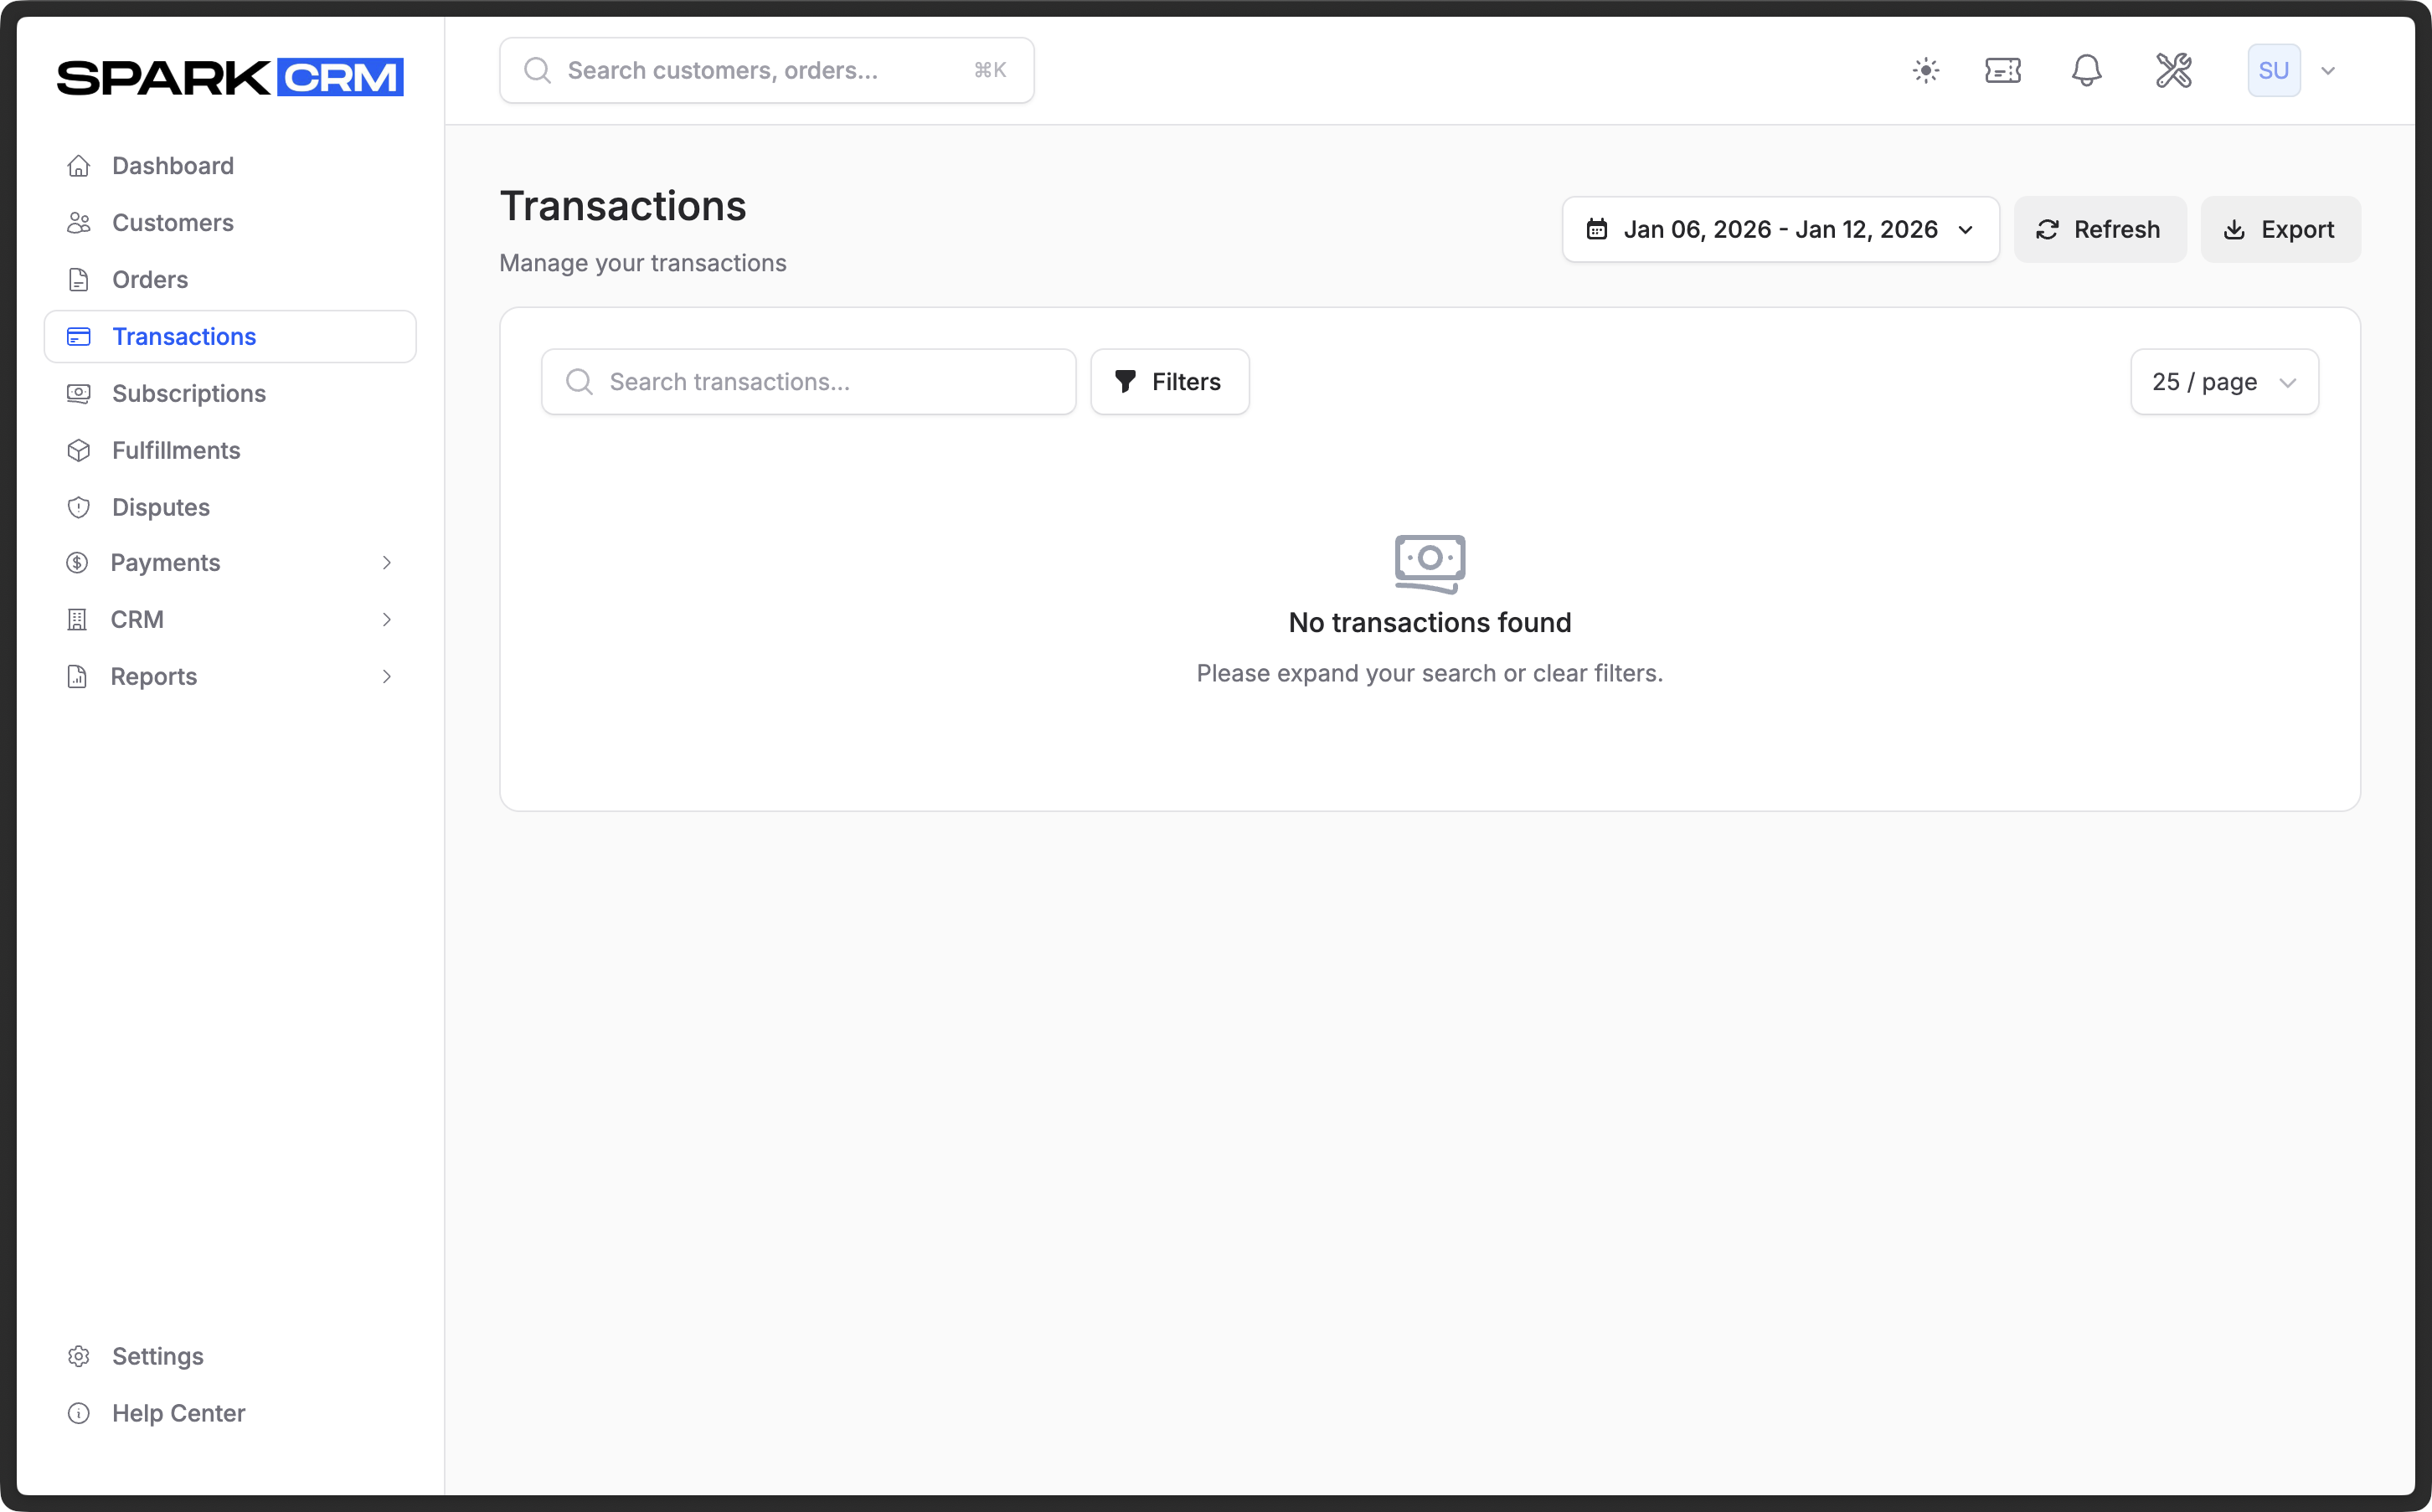 Screenshot: Transactions showing payment history and status.
Post-Order Checklist
- Confirm the gateway used matches the campaign selection
- Ensure taxes/shipping (if applicable) appear correctly on the order
- Verify customer email notifications were sent (confirmation, tracking). These only send if the campaign has an active Auto Responder for that trigger — set them up on the campaign’s Auto Responders tab.
- If the order is a subscription, confirm the subscription record exists
Tips for Success
Success Tip: The key to a smooth setup is starting small and testing thoroughly before adding complexity.
Start Simple
- Begin with one gateway, one product, one campaign
- Add complexity after confirming the basics work
Test Everything
Important: Always test with sandbox/test credentials first. Never go live without processing at least one complete test order.
- Use test/sandbox credentials first
- Process test orders before going live
- Verify emails and notifications work
Monitor Your Dashboard
- Check daily for revenue and order metrics
- Watch for failed transactions
- Monitor chargeback rates
Use Reports
- Review the Revenue report weekly
- Check Decline Salvage effectiveness
- Monitor affiliate performance
Common First-Time Issues
Troubleshooting: If you encounter any of these issues, check the solutions below. For additional help, contact support.
Payment Declined
- Verify gateway credentials are correct
- Check if the card is valid for testing
- Review the decline reason in Transactions
Order Not Created
- Ensure all required fields are filled
- Verify the campaign is active
- Check that products are available
Fulfillment Not Triggered
- Verify fulfillment is configured on the product
- Check fulfillment provider settings
- Review the order status
Next Steps
Now that you’ve processed your first order, explore:
- Decline Salvage - Automatically retry failed payments
- Affiliates - Set up partner tracking
- Email AI - Automate customer support
- Reports - Analyze your business performance
Have questions? Check the FAQ or contact support.