

SMTP profiles let Spark CRM send your customer-facing campaign email - order confirmations, tracking and shipping updates, refund/void confirmations and subscription reminders - and, if Email AI is enabled, the AI agent’s replies. Account and authentication email (password reset, email verification) is sent by the platform’s own mail server and is not affected by these profiles.
Navigation: Settings > SMTP Profiles
Access: this screen requires an account-type team. Account owners and administrators always have access; other team members need the smtp:view_any permission, plus smtp:create, smtp:update or smtp:delete to add, edit or remove profiles. The SMTP Profiles menu item is always visible, but without permission the panel shows an “Access Restricted” card and the Add Profile button is hidden.
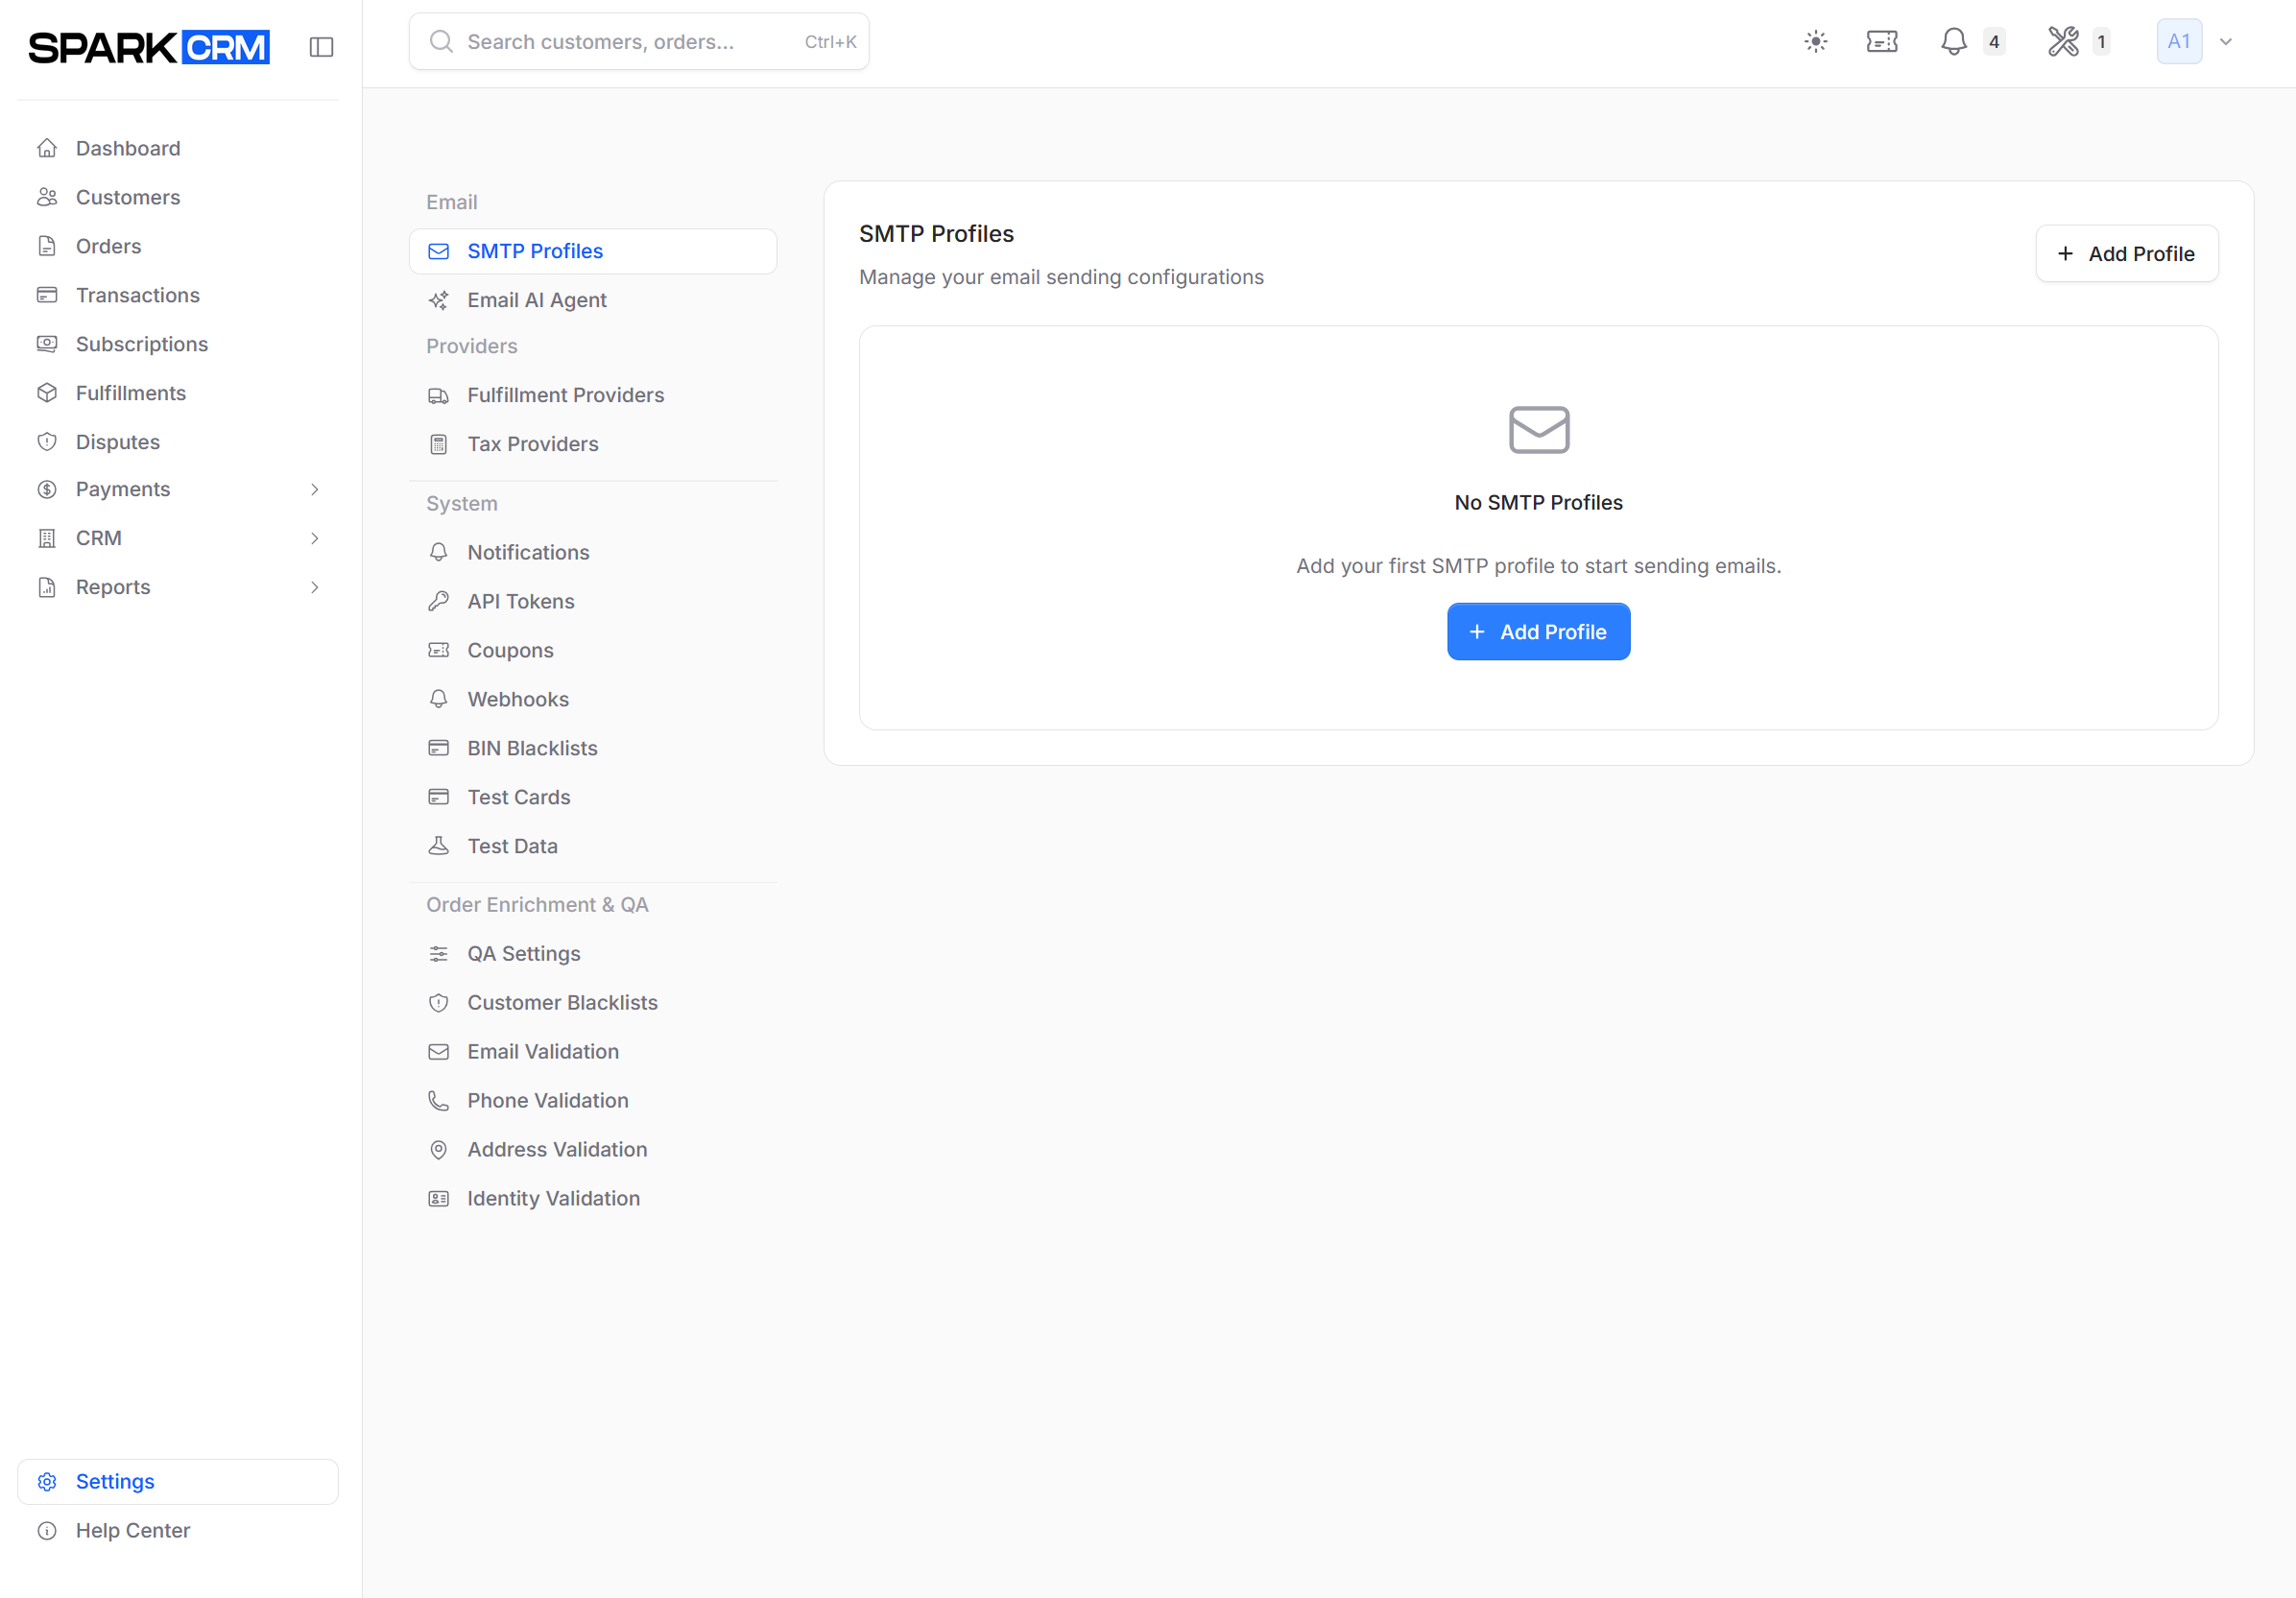
Overview
Configure one or more SMTP profiles to send email from Spark CRM. You can create multiple profiles. There is no default profile and no per-email-type default: each campaign auto responder is pointed at a specific profile individually (Campaigns > Auto Responders), and the Email AI agent has its own profile setting.
Adding an SMTP Provider
Step 1: Navigate to SMTP Profiles
- Go to Settings in the sidebar
- Click SMTP Profiles in the left menu
Step 2: Add Provider
- Click Add Profile button
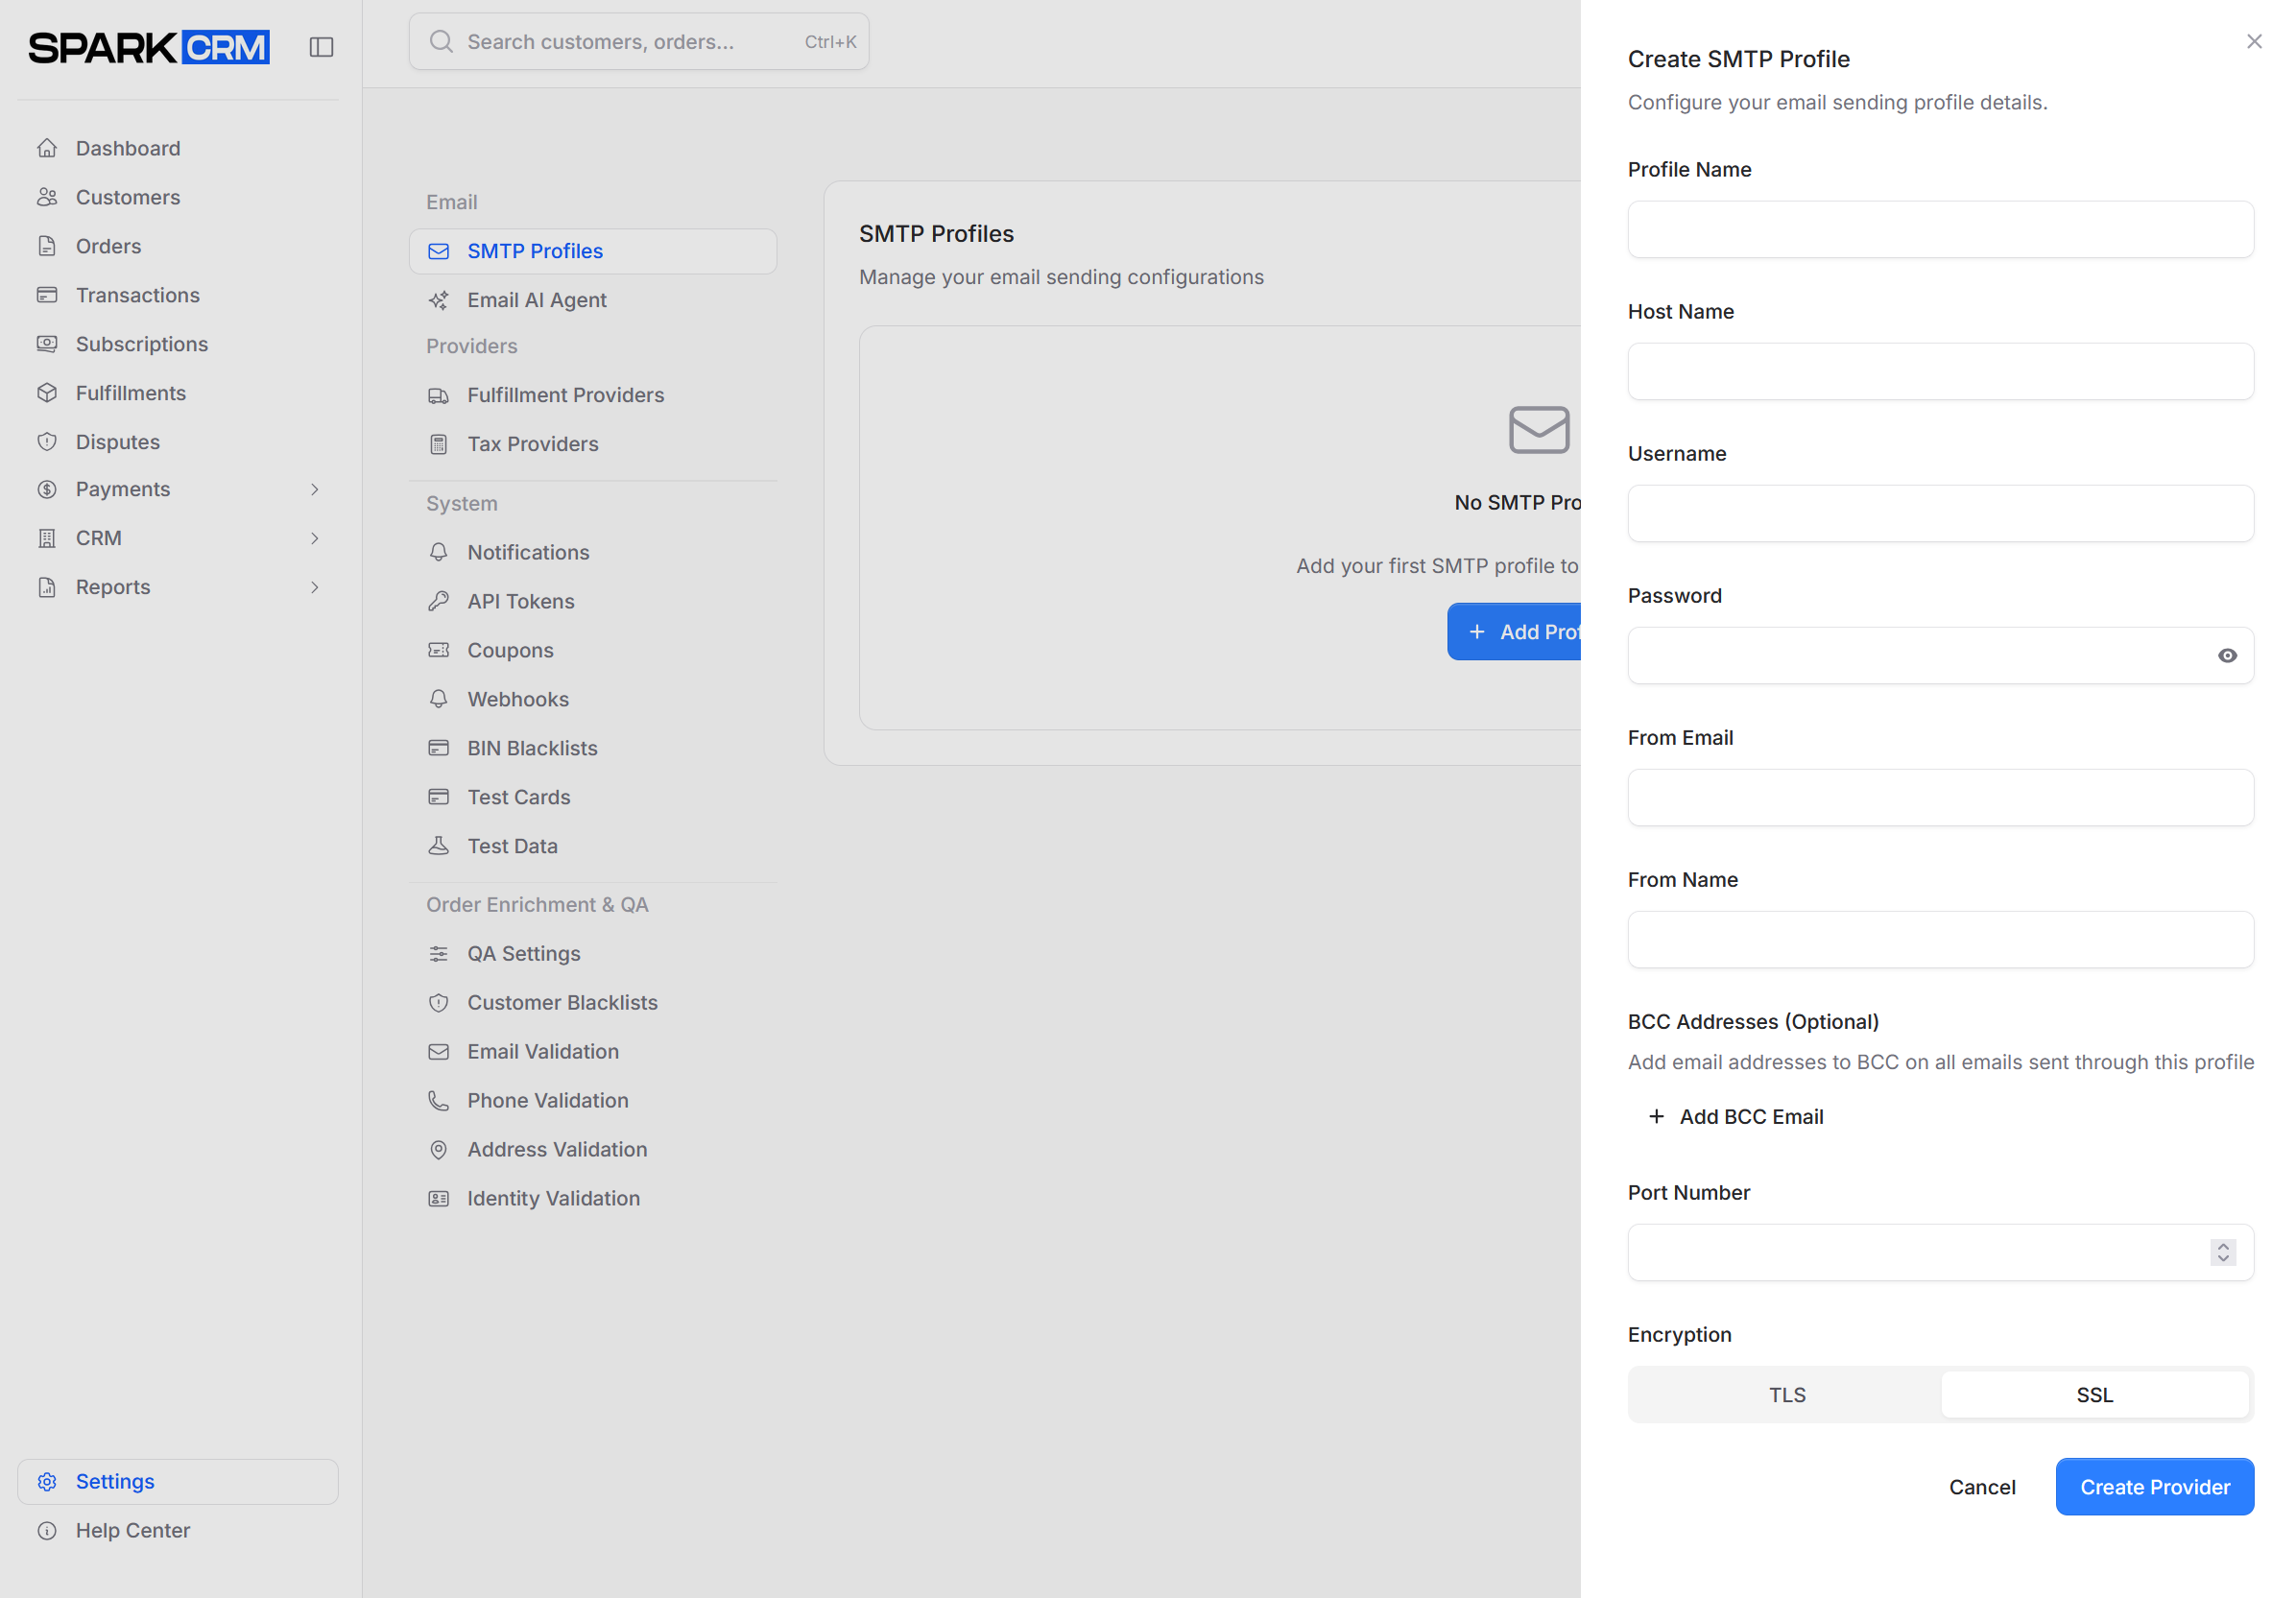
- Fill in the provider details:
| Field | Description |
|---|---|
| Profile Name | Descriptive name, e.g. “SendGrid Production”. Required, max 255 characters. |
| Host Name | SMTP server hostname. Required, max 255 characters. |
| Port Number | SMTP port. Required whole number with no prefilled default - typically 587 (with TLS) or 465 (with SSL). |
| Username | SMTP authentication username |
| Password | SMTP authentication password |
| Encryption | TLS or SSL, chosen with a two-option segmented selector; SSL is preselected on a new profile. There is no “None” option. Use SSL for implicit TLS on port 465 and TLS for STARTTLS on port 587. |
| From Email | Sender email address used by this profile. Required, must be a valid email. |
| From Name | Sender display name shown to recipients. Required, max 255 characters. |
Step 3: Save
Click Create Provider to save the new profile. It is added to the profiles table, where it can be tested.
Step 4: Test Connection
A profile cannot be tested before it is saved.
- In the profiles table, open the row’s ⋯ menu and choose Test Connection
- In the Test SMTP Connection dialog, confirm or change the Email Address (prefilled with your own) and click Send Test Email
- Verify the test message arrives. On failure a Connection Failed dialog shows the error returned by the SMTP server - check host, port, credentials and encryption.
A successful test sets the profile’s Status badge to Active; a failed test sets it to Connection Failed and stores the server’s error.
Common SMTP Configurations
SendGrid
Host: smtp.sendgrid.net
Port: 587
Encryption: TLS
Username: apikey
Password: [Your SendGrid API Key]
Mailgun
Host: smtp.mailgun.org
Port: 587
Encryption: TLS
Username: [Your Mailgun Username]
Password: [Your Mailgun Password]
Amazon SES
Host: email-smtp.[region].amazonaws.com
Port: 587
Encryption: TLS
Username: [Your SES SMTP Username]
Password: [Your SES SMTP Password]
Postmark
Host: smtp.postmarkapp.com
Port: 587
Encryption: TLS
Username: [Your Postmark API Token]
Password: [Your Postmark API Token]
Managing SMTP Providers
Provider List
The list displays all configured providers:
| Column | Description |
|---|---|
| Name | Profile name |
| Host | SMTP server |
| From Email | The profile’s sender address |
| Status | Connection status - Active, Pending Verification, Connection Failed or Disabled |
| (Actions) | ⋯ menu with Edit, Test Connection and Delete |
Assigning a Profile
There is no default profile. Each campaign auto responder names the profile it sends through - the SMTP Provider field on the auto-responder form (Campaigns > Auto Responders) is required. The Email AI agent has its own profile setting under Settings > Email AI Agent.
There is no account-wide fallback: if an auto responder ends up without a valid profile (for example because the profile it pointed at was deleted), the email is simply not sent, and the only trace is a log line reading “No SMTP provider specified for auto responder ID X”.
Editing a Provider
- Open the profile row’s ⋯ menu and choose Edit
- Modify settings
- Click Update Provider. Any edit resets the profile’s Status to Pending Verification - re-run Test Connection from the row’s ⋯ menu to restore the Active badge.
Deleting a Provider
- Open the profile row’s ⋯ menu and choose Delete
- Confirm in the Delete SMTP Provider dialog by clicking Delete Provider
Note: Cannot delete the default provider while emails are active.
Email Types
The email an SMTP profile sends is determined by the trigger you attach to an auto responder:
| Trigger | Description |
|---|---|
| Order Confirmation | Sent when the order is placed |
| Label Created (Tracking Issued) | Sent when a shipping label is created |
| Carrier Accepted | Sent when the carrier accepts the shipment |
| Order Shipped | Sent when the order ships |
| In Transit | Sent while the shipment is in transit |
| Out For Delivery | Sent when the shipment is out for delivery |
| Shipment Delivered | Sent when the shipment is delivered |
| Order Refunded | Sent when the order is refunded |
| Order Canceled | Sent when the order is canceled |
| Order Voided | Sent when the order is voided |
| Subscription Reminder | Sent a set number of days before the next rebill |
| Subscription Renewed | Sent after a successful rebill |
The six tracking and shipping triggers require Enhanced Tracking to be enabled on the account.
There is no decline or payment-failure trigger: a Payment Failed template can be created under Email Templates, but no auto responder trigger fires it.
Account and authentication email (password reset, email verification, login alerts) is sent by the platform’s own mail server and does not use your SMTP profiles.
Configure templates in Email Templates.
Best Practices
Provider Selection
- Use reputable providers (SendGrid, Mailgun, SES)
- Check deliverability reputation
- Monitor for bounces and complaints
Multiple Providers
- Create separate profiles when you send from different domains or sending services
- Assign each auto responder the profile that matches the domain it should send from
- There is no automatic failover between profiles - if a profile stops working, the auto responders pointed at it stop sending until you fix the profile or reassign them
Authentication
- Enable SPF, DKIM, and DMARC for your domain
- Verify sending domains with your provider
- Use dedicated IP addresses for high volume
Monitoring
- Check delivery rates regularly
- Monitor bounce and complaint rates
- Review email logs for issues
Troubleshooting
Connection Test Failed
Check:
- Host and port are correct
- Credentials are valid
- Firewall allows outbound SMTP
- Encryption type matches port
Emails Not Delivering
Check:
- The auto responder has an SMTP profile assigned - without one, nothing is sent
- Provider account is active
- Sending limits not exceeded
- Domain verification complete
- SPF/DKIM records configured
Emails Going to Spam
Check:
- SPF, DKIM, DMARC configured
- Content isn’t triggering filters
- Sender reputation is good
- “From” address is verified
Related Topics
- Email Templates - Configure email content
- Notifications - Notification preferences