

Connect third-party service providers for order fulfillment. For sales tax integration (TaxJar or Avalara), see Tax Providers.
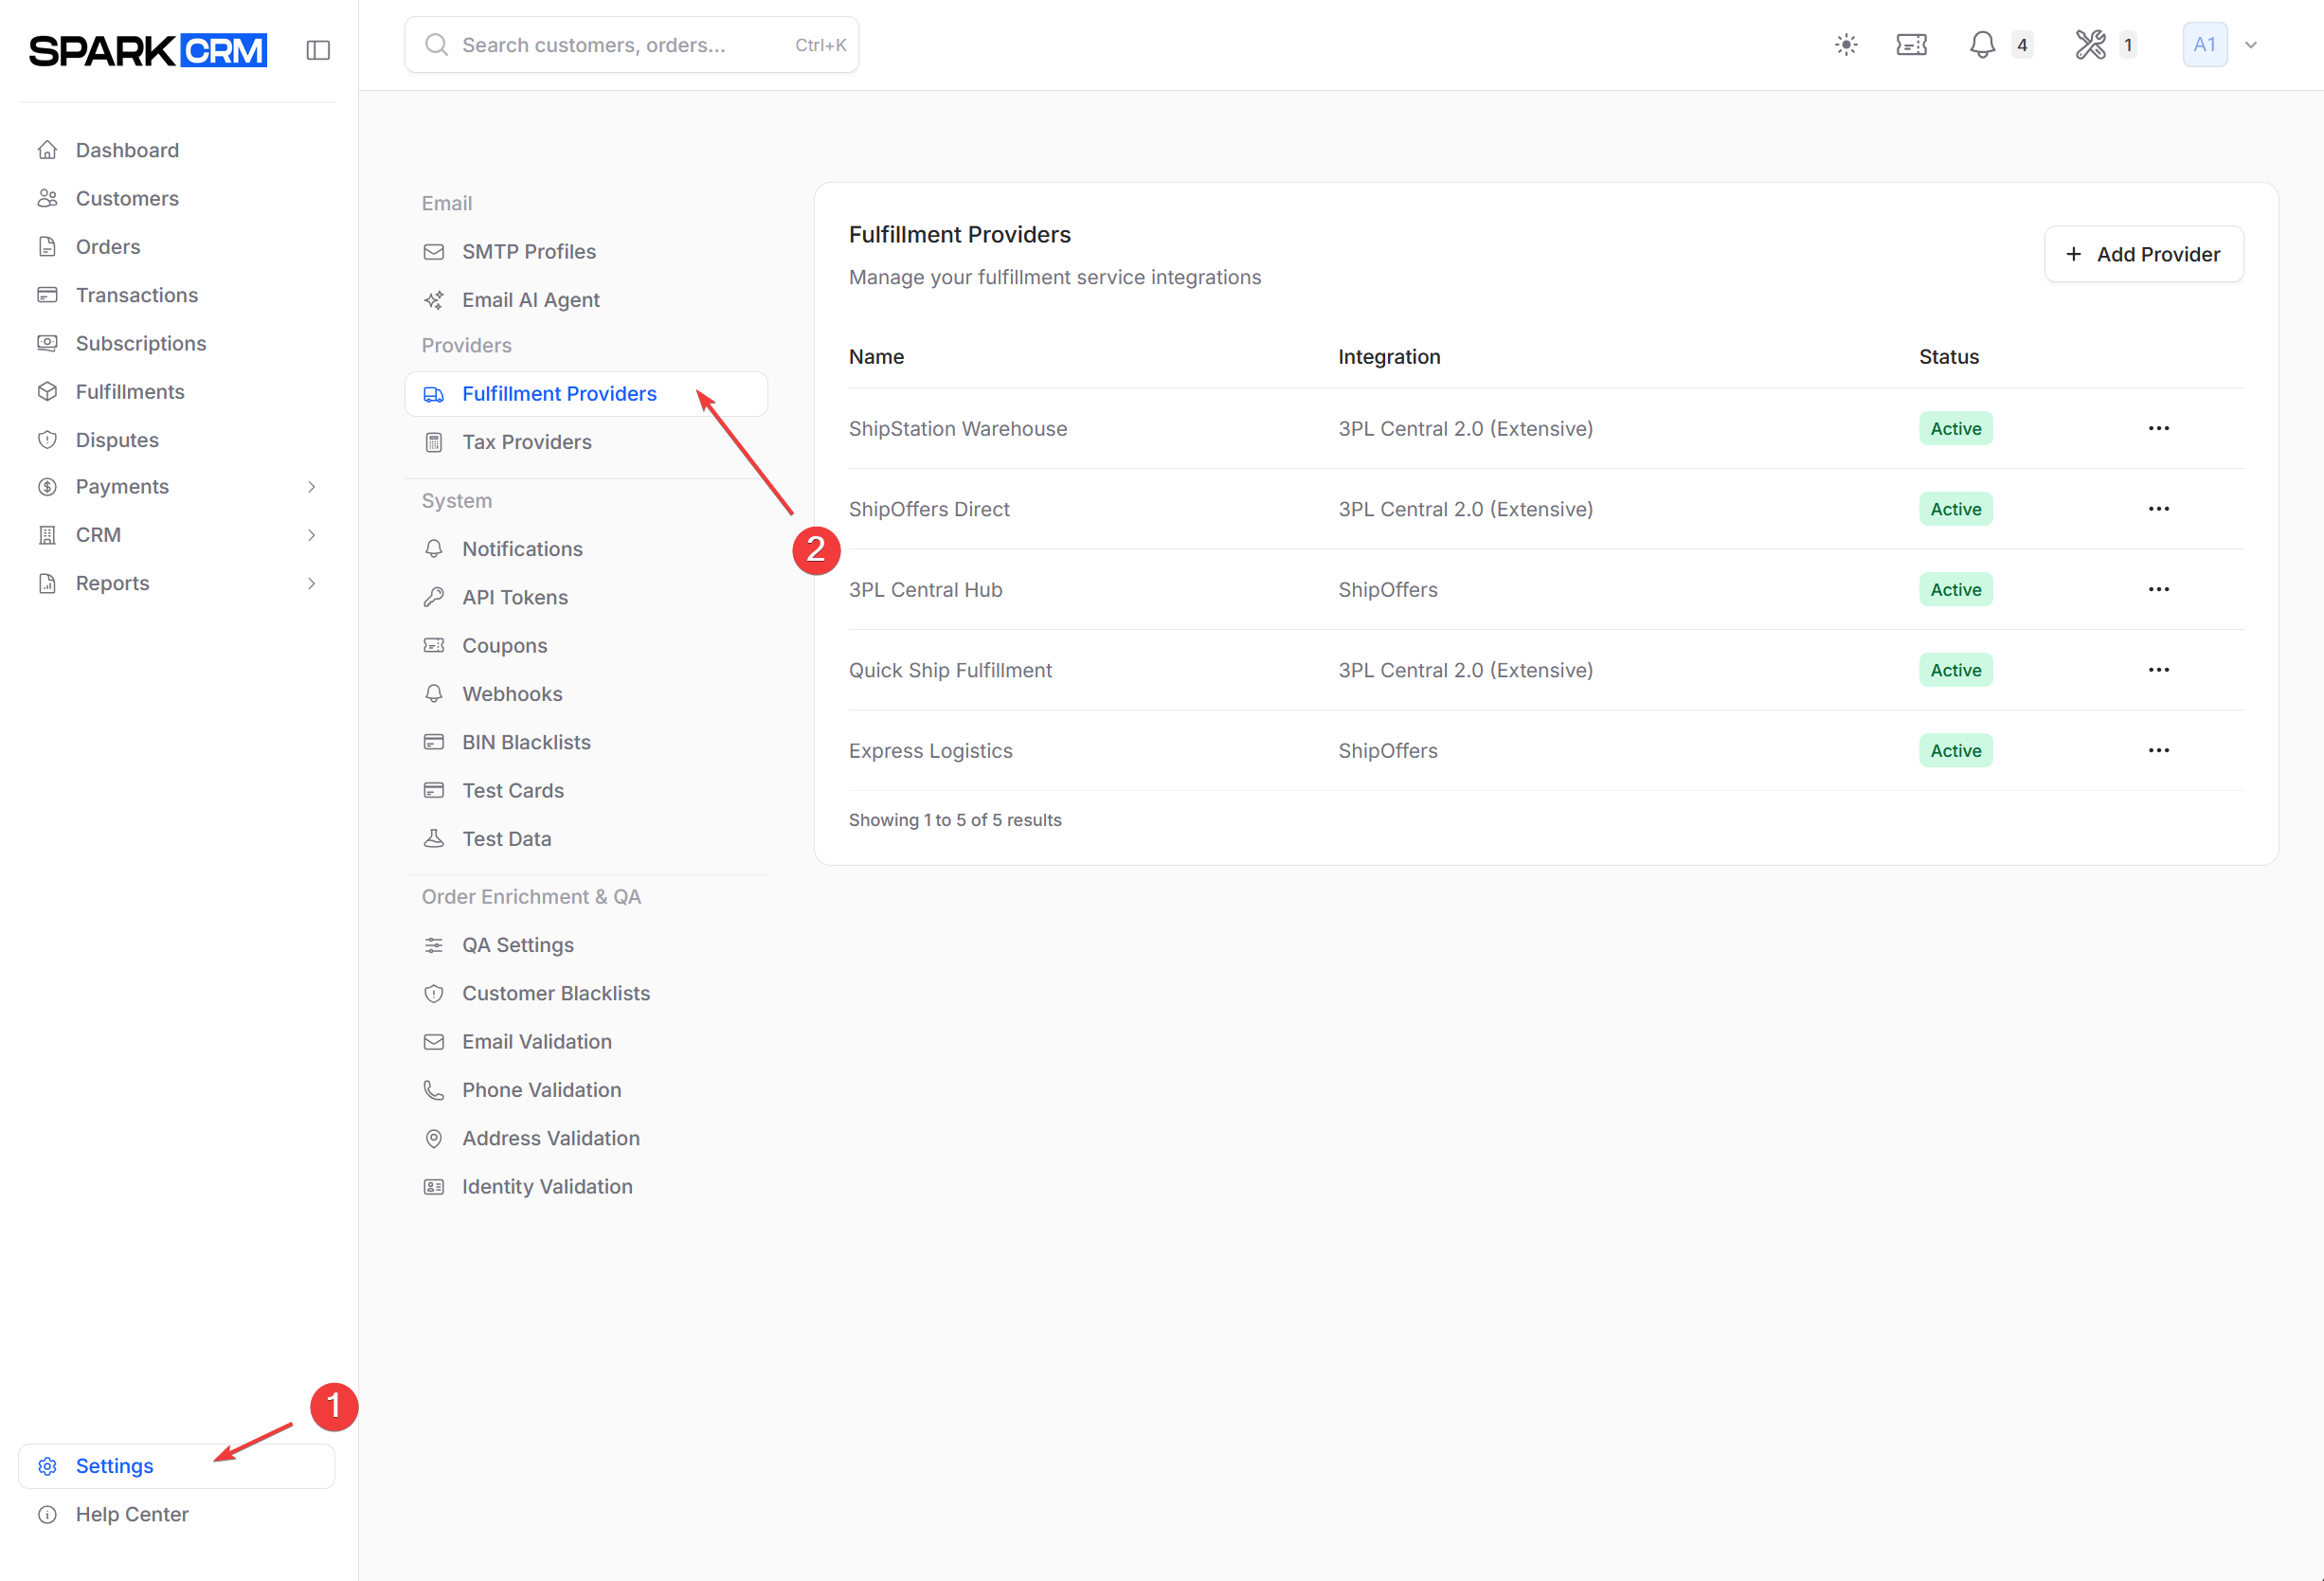
Navigation: Settings > Fulfillment Providers
Fulfillment Providers
Navigation: Settings > Fulfillment Providers
Who can use this: the team owner and members with the Account Admin role. (The underlying permission checks look for fulfillment:* keys that no role currently grants — the grantable fulfillments:* permissions held by Account Managers do not satisfy them, so managers currently see the Access Restricted card despite its wording.) Editing and deleting a provider are restricted to Account-type teams and to providers belonging to your current team; on other team types those actions are denied even for owners and administrators. Members without owner/admin status see an Access Restricted card unless they are on an Account-type team.
Configure services that handle order fulfillment and shipping.
Supported Providers
| Provider | Description |
|---|---|
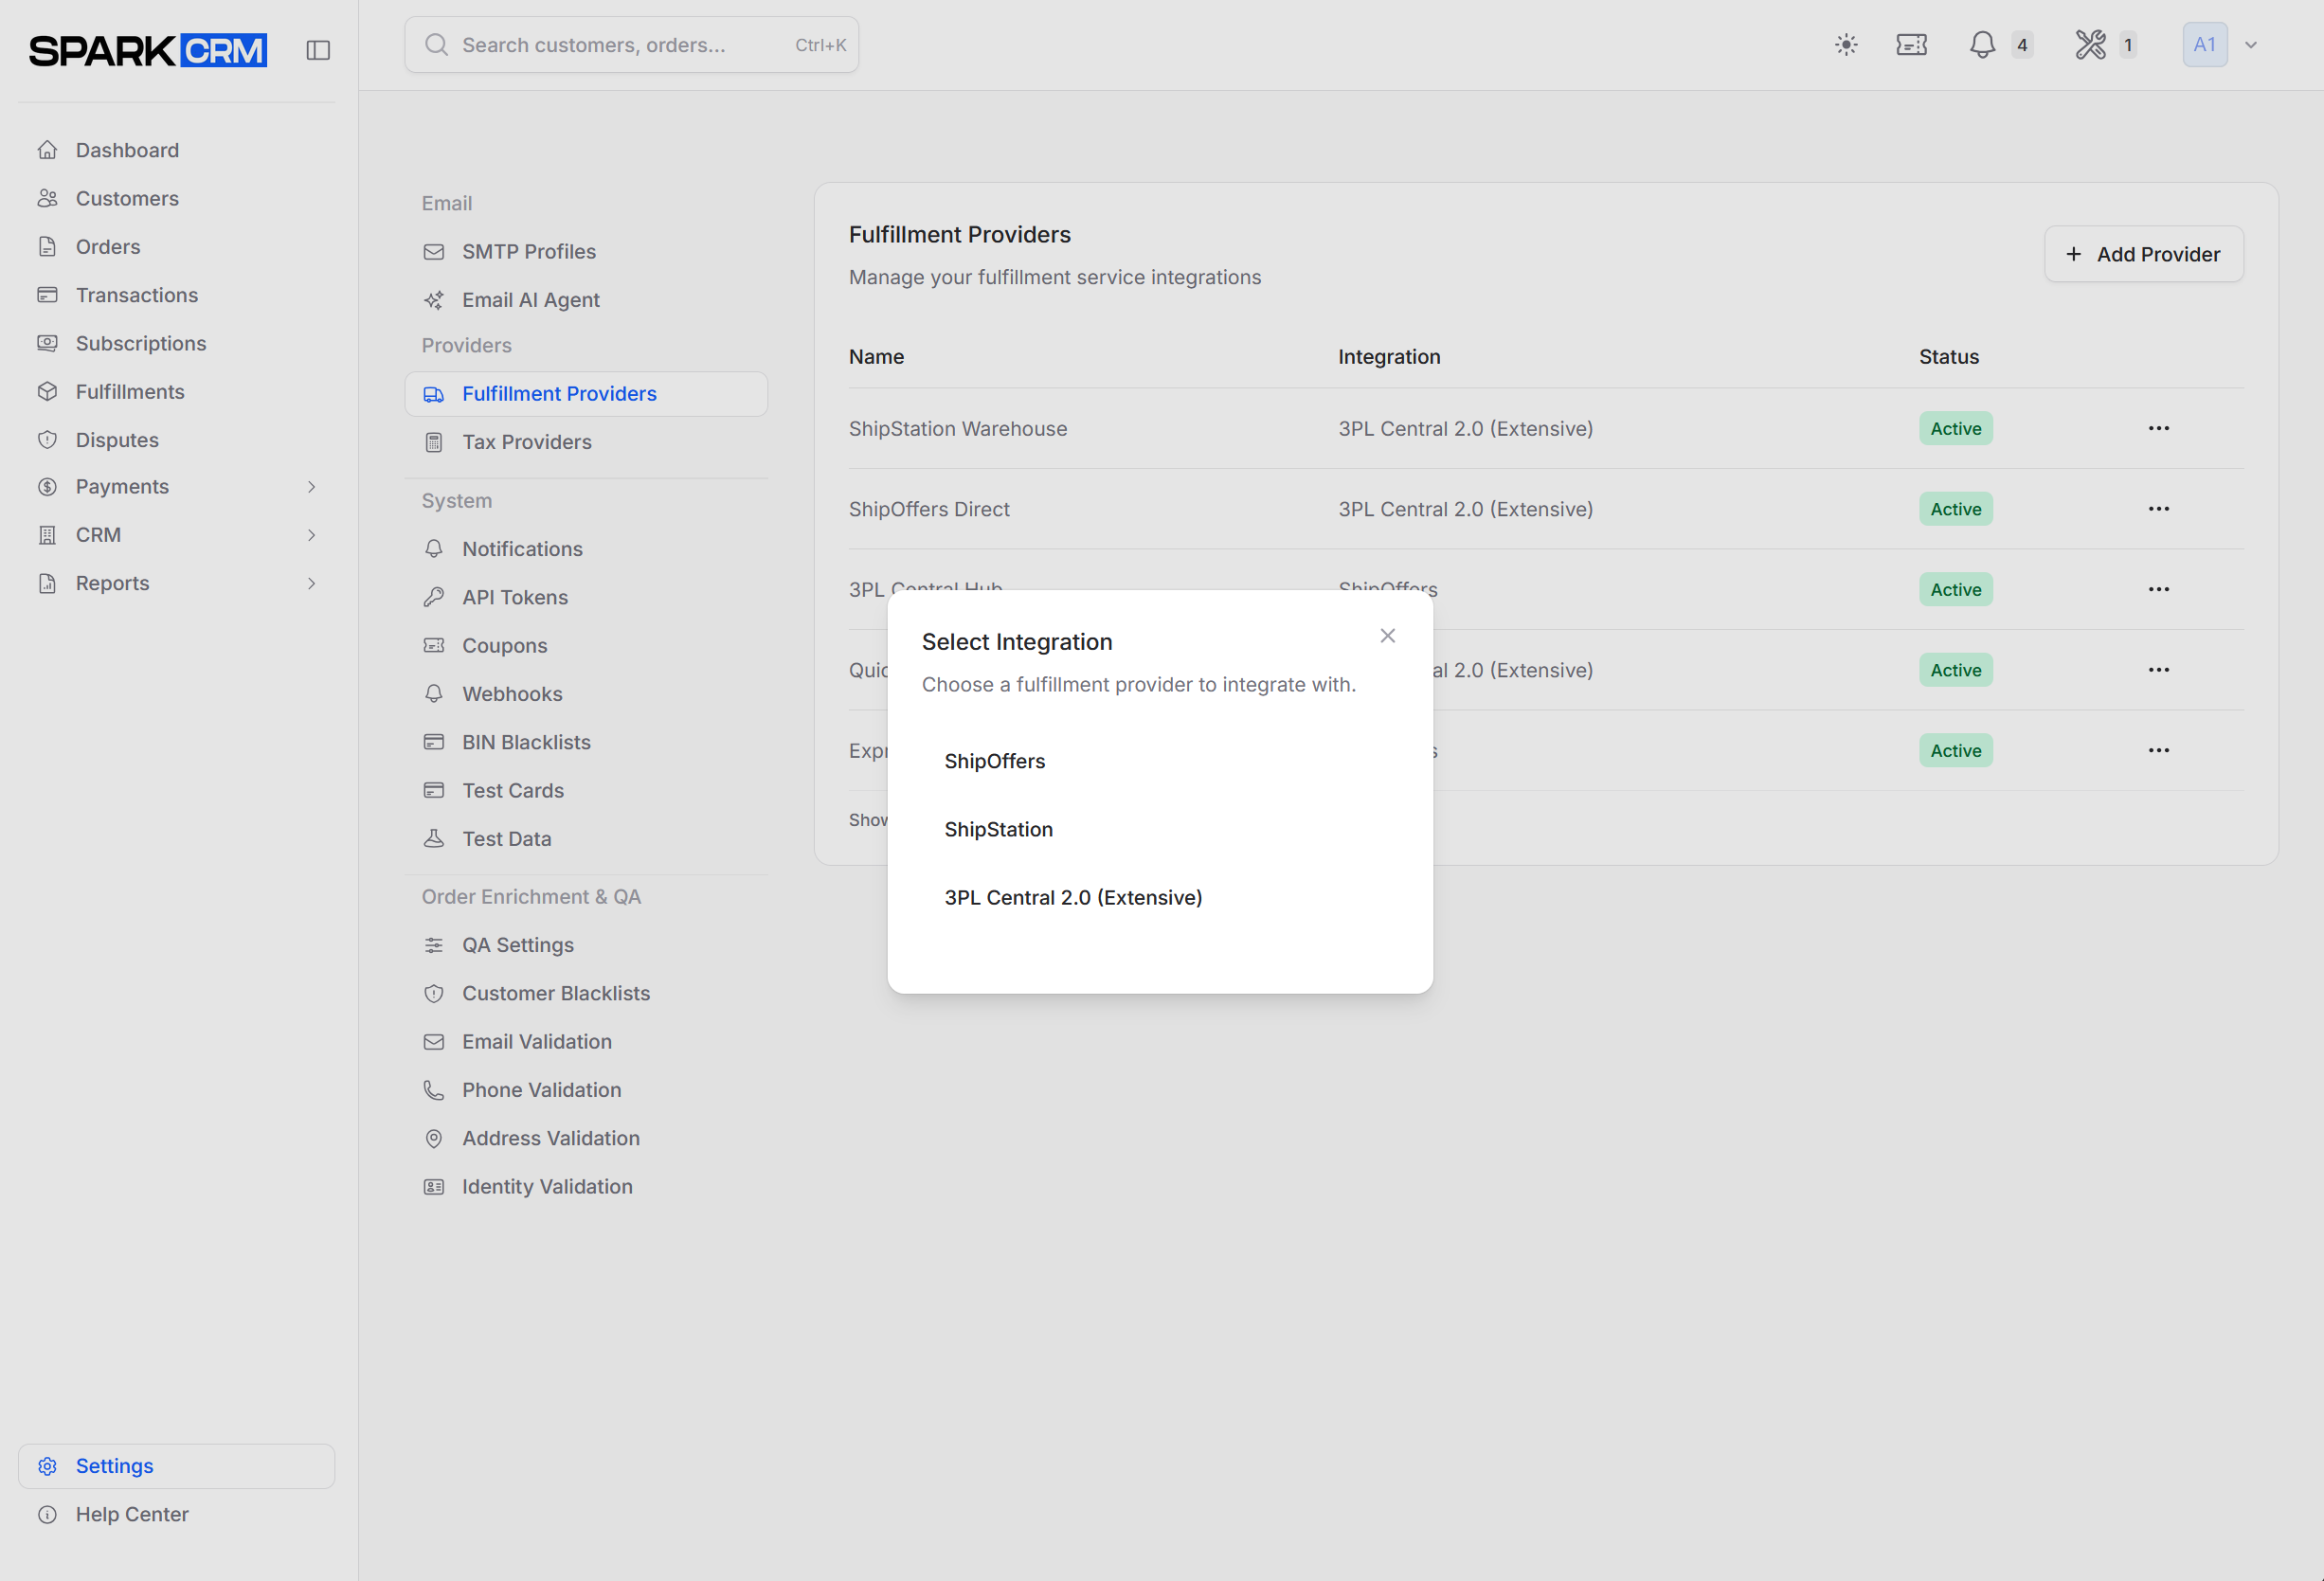
| ShipStation | Multi-carrier shipping platform |
| 3PL Central 2.0 (Extensive) | Third-party logistics integration (Extensiv / 3PL Central) |
| ShipOffers | Fulfillment service provider |
To handle an order’s fulfillment yourself, leave the product’s Fulfillment Provider set to No Provider — no fulfillment record is created and nothing is submitted to any integration.
Adding a Fulfillment Provider
- Go to Settings > Fulfillment Providers
- Click Add Provider
- Choose the integration in the Select Integration dialog
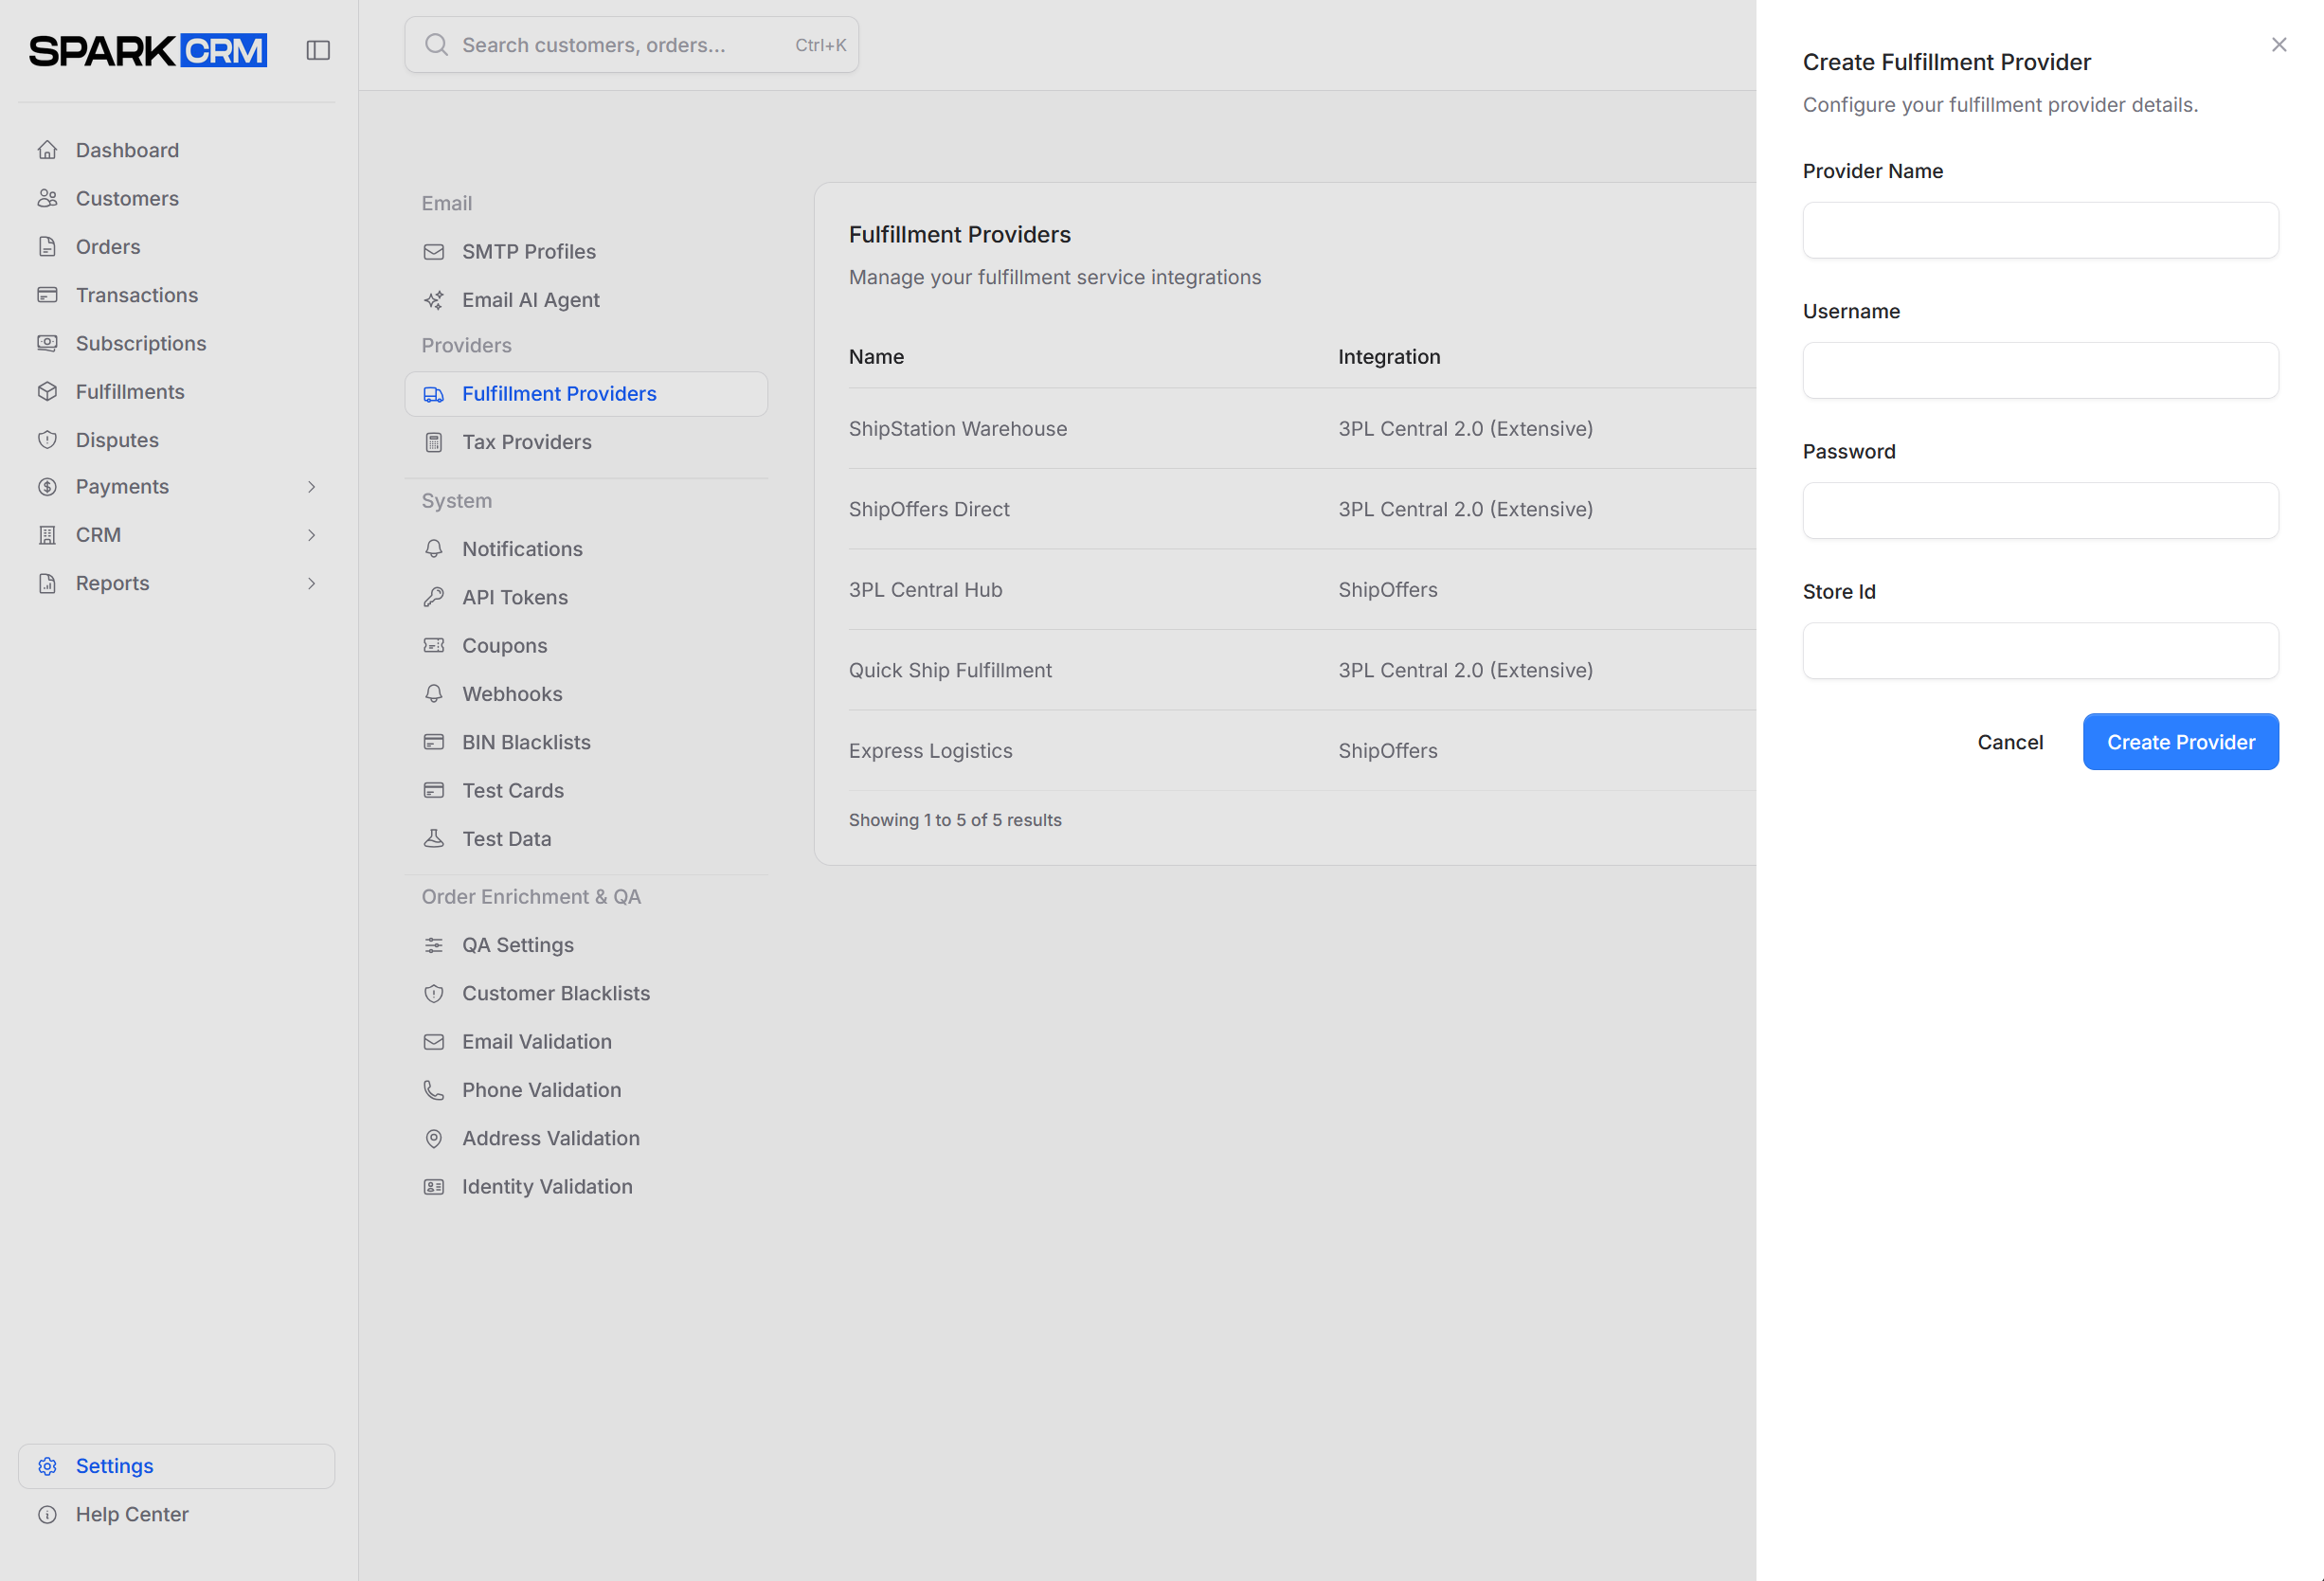
- Enter the provider name and the integration’s credentials
- Set Send test orders to fulfillment if you want test orders submitted to this provider
- Click Create Provider
A newly saved provider is created with status Pending Configuration and receives no orders until you run Test Connection successfully — a passing test is what sets it to Active. If you re-create a provider using the same name and integration type as one you previously deleted, the original record is restored and updated rather than a new one created.
Provider Configuration
| Field | Description |
|---|---|
| Provider Name | Display name for the provider. Required, maximum 255 characters. |
| Send test orders to fulfillment | Off by default. When off, orders flagged as test are never submitted to this provider. |
The integration type is fixed when you pick it in the Select Integration dialog and cannot be changed afterwards on the provider form.
Fulfillments are submitted automatically when the order completes — there is no auto-submit setting. Submission requires: the product has a Fulfillment Provider assigned, the provider’s status is Active, the order is not on QA hold, the order is not a test order (unless Send test orders to fulfillment is on), and the order did not come from a connected store. The campaign’s fulfillment delay, if set, delays submission by that many minutes.
The remaining fields are the integration’s credentials, which differ by provider:
| Provider | Credential fields (as labelled on screen) |
|---|---|
| ShipStation | Api Key (required), Api Secret (required), Store Id (optional) |
| ShipOffers | Username (required), Password (required), Store Id (optional) |
| 3PL Central 2.0 (Extensive) | Client Id, Customer Id, Client Secret, Auth Code, Facility Id, Tpl Guid, User Login Id (all required) |
Facility Id — required for 3PL Central 2.0 (Extensive); identifies the warehouse/facility in Extensiv.
17track Integration
Spark CRM integrates with 17track for shipment tracking:
- Real-time tracking updates via webhook
- Multi-carrier support
- Delivery notifications
Enable 17track tracking under Billing > Fulfillment Services > Enhanced Shipment Tracking (billed per tracking number). There is no 17track configuration on the fulfillment provider itself — the 17track API key is configured platform-wide by Spark CRM.
Testing Provider Connection
- In the provider list, open the row’s ⋯ (three dots) menu and choose Test Connection
- A successful test sets the provider’s status to Active — this is what makes it eligible to receive orders. A failed test, or an API error, sets the status to Connection Error, and no orders are submitted until a later test succeeds.
- Check for any configuration errors
Tax Providers
Tax provider setup (TaxJar or Avalara) has its own dedicated page covering API keys, origin addresses, campaign configuration, product tax codes, refund/void reporting, and the Sales Tax report.
See Tax Providers for full documentation.
Managing Providers
Provider List
View all configured providers:
| Column | Description |
|---|---|
| Name | Provider name |
| Integration | The integration type: ShipStation, ShipOffers, or 3PL Central 2.0 (Extensive) |
| Status | Active (receiving orders), Pending Configuration (saved but not yet successfully tested), Connection Error (last test failed), or Disabled (manually deactivated). Only Active providers receive orders. |
| Actions | Row menu (⋯) with Edit, Test Connection, Activate/Deactivate Provider, and Delete |
Editing a Provider
- Open the row’s ⋯ (three dots) menu
- Choose Edit
- Modify settings
- Click Update Provider
- If you changed any credentials, the provider drops back to Pending Configuration and stops receiving orders — re-open the row’s ⋯ menu and run Test Connection to return it to Active
Disabling a Provider
To disable a provider without deleting it, open the row’s ⋯ menu and choose Deactivate Provider. Its status becomes Disabled and it stops receiving orders. Use Activate Provider on the same menu to re-enable it. (The menu shows Deactivate Provider for any status other than Disabled — including Pending Configuration and Connection Error — so it is not a simple two-state toggle.)
Deleting a Provider
- Open the row’s ⋯ (three dots) menu and choose Delete
- Confirm deletion
Note: Ensure no products reference the provider before deleting.
Product Assignment
Assign fulfillment providers to products:
- Go to CRM > Products
- Edit a product
- Select Fulfillment Provider
- Choose fulfillment type (Manual, Automated, Digital)
- Save
Best Practices
Fulfillment
- Test provider connection before going live — a provider only becomes Active after a successful test
- Enable Enhanced Shipment Tracking under Billing if you want 17track updates
- Monitor fulfillment success rates
Tax
- Verify tax nexus configuration
- Test tax calculation in sandbox
- Keep tax provider credentials secure
- Review tax reports periodically
Troubleshooting
Fulfillment Not Submitting
Check:
- Provider status is Active (Pending Configuration and Connection Error providers are skipped)
- Product has a fulfillment provider assigned
- The order is not on QA hold
- The order is not a test order, or the provider has Send test orders to fulfillment enabled
- The order did not come from a connected Shopify/WooCommerce store (those are fulfilled by the store)
- The campaign’s fulfillment delay has elapsed
- API credentials are valid
Incorrect Tax Rate
Check:
- Customer address is valid
- Tax nexus is configured correctly
- Provider is connected
- Product is taxable
Connection Failed
Check:
- API credentials are correct
- Provider account is active
- Firewall allows outbound connections
Related Topics
- Products - Product configuration
- Fulfillments - Fulfillment tracking