

Configure how and when you receive notifications about important events in Spark CRM.
Navigation: Settings > Notifications
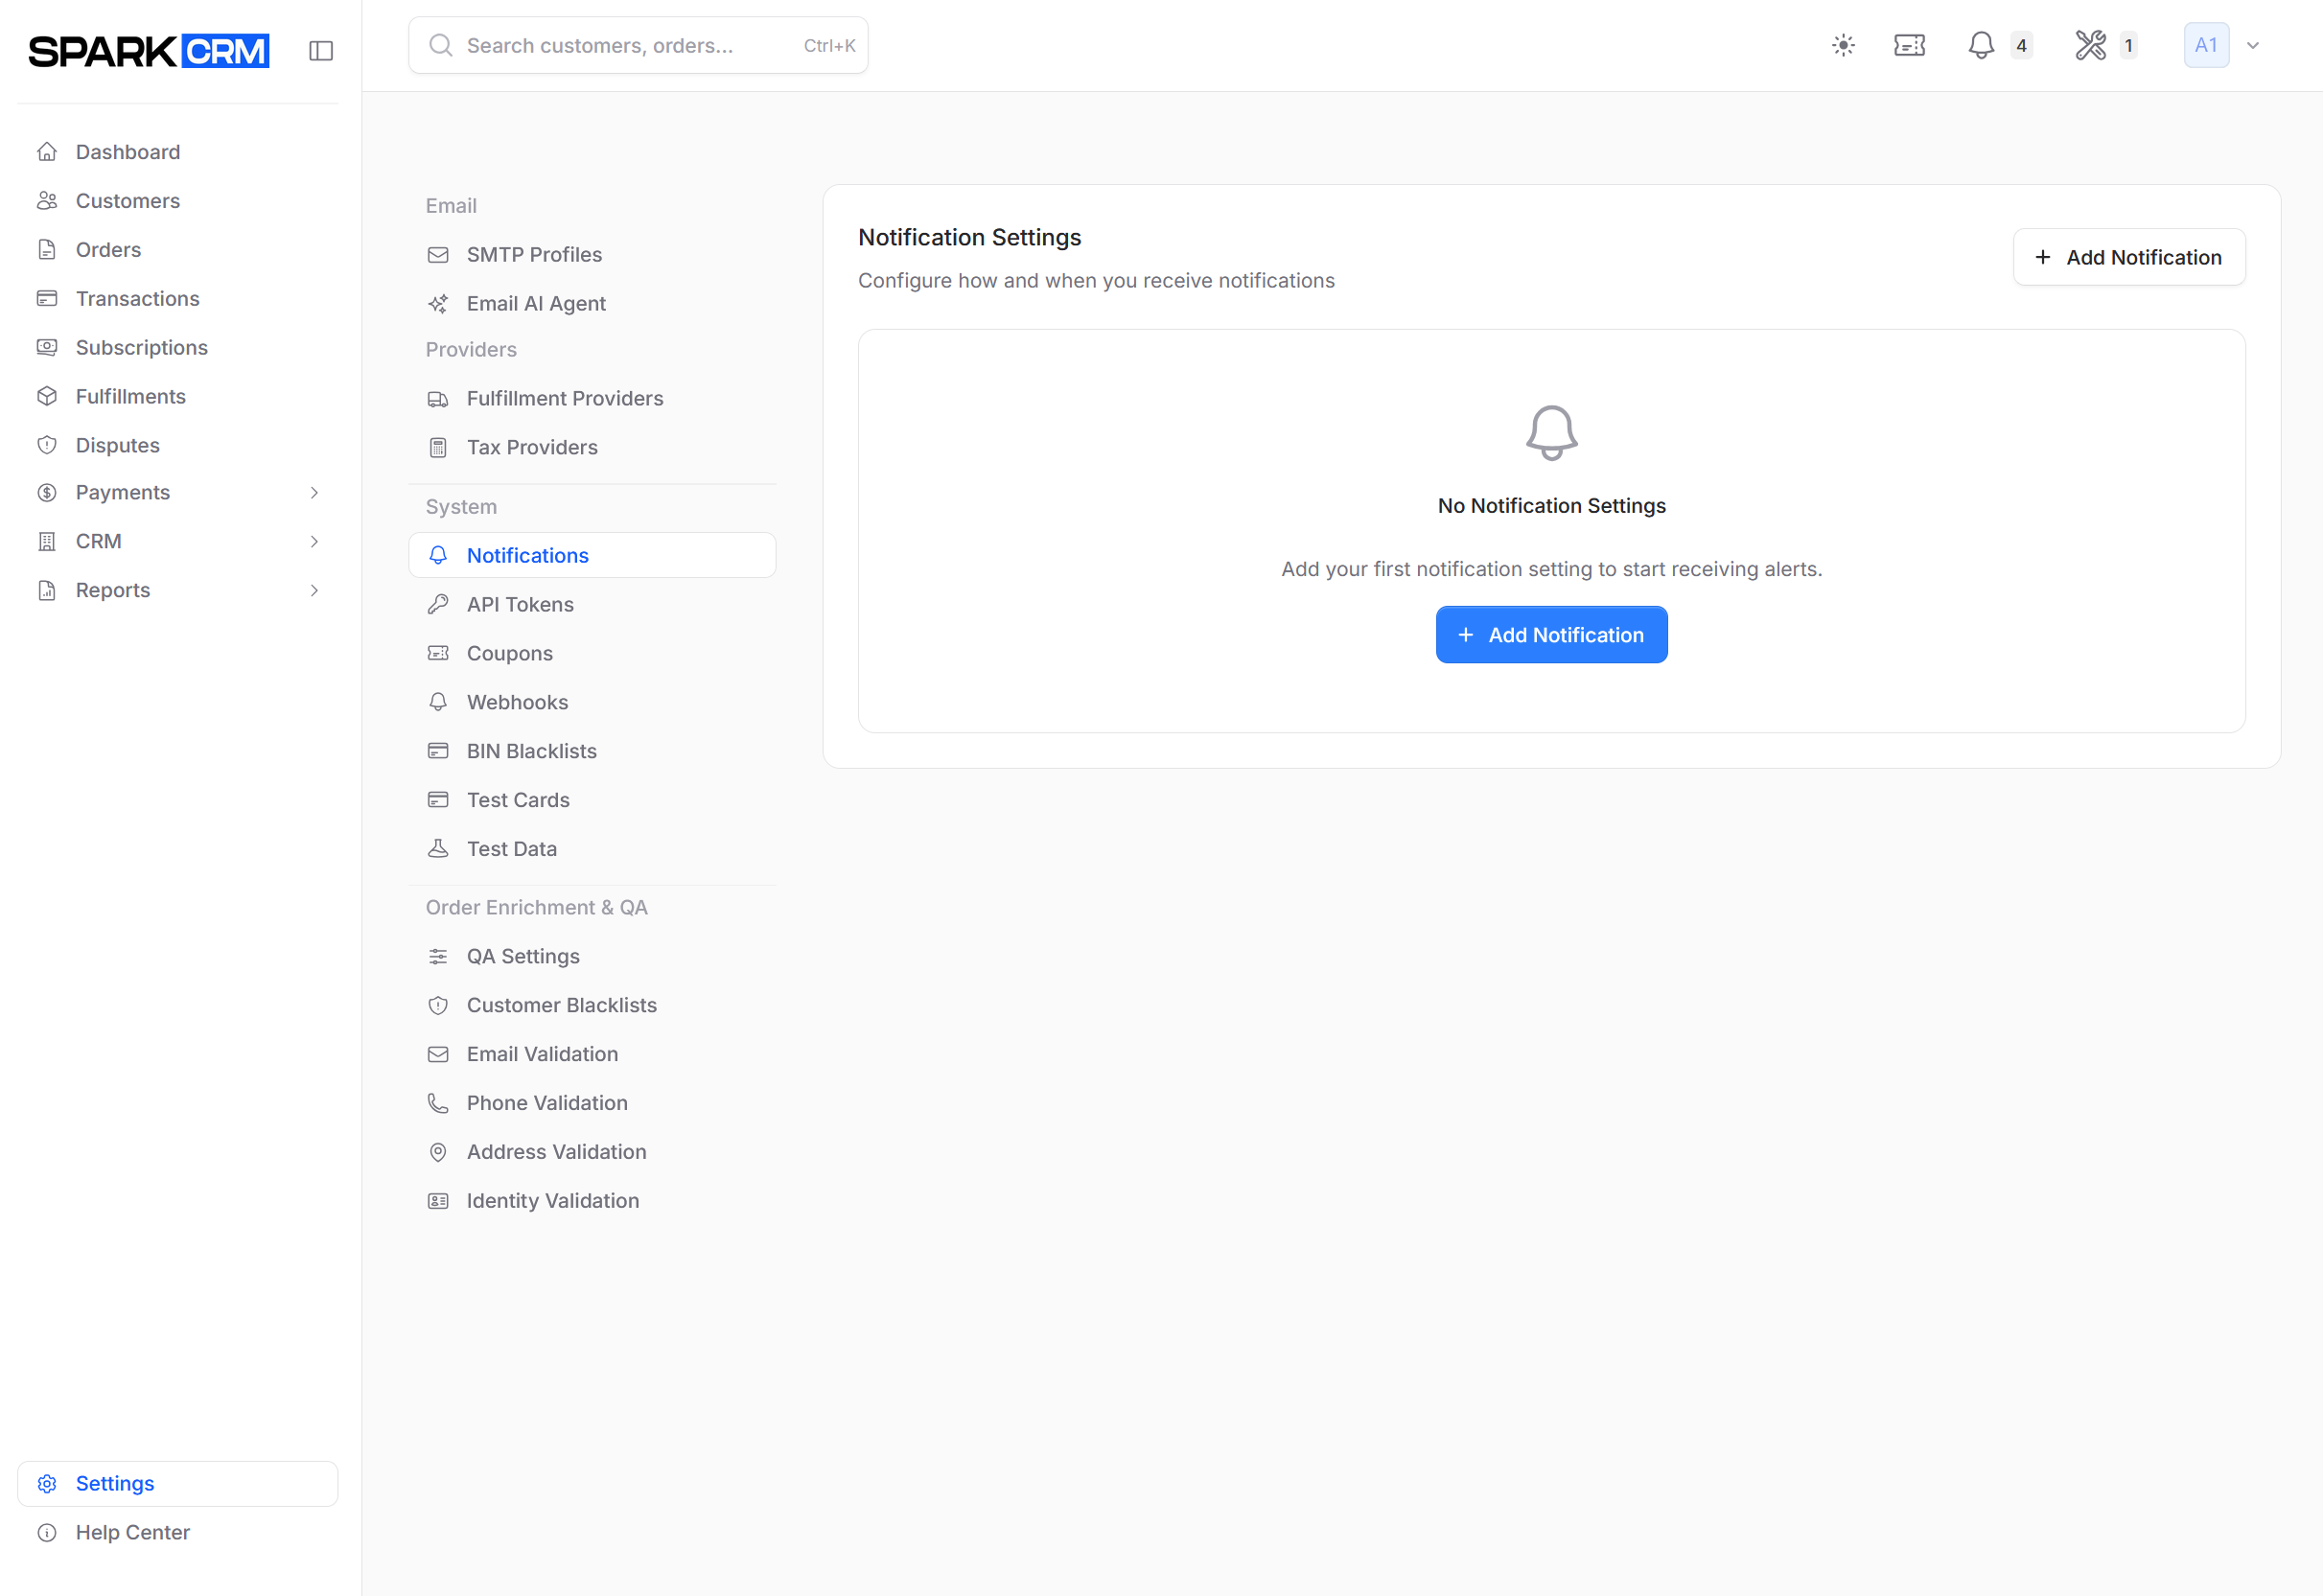
Overview
Spark CRM sends notifications for various events:
- Order-handling problems (QA review required, fulfillment failed, delayed shipment)
- Consecutive gateway declines (alerts once a gateway records the configured number of declines in a row, default 5)
- Disputes that could not be resolved automatically
- Gateway, orchestrator, webhook, email-inbox and SMTP problems (capacity thresholds reached, auto-disabled connections, provider failures)
- CS AI ticket escalations (when an AI-handled ticket is handed to a human agent)
Configure which notifications you receive and how you receive them. Delayed Shipment alerts require Enhanced Tracking on your billing plan. Without it the option is greyed out as Delayed Shipment (Enhanced Tracking Required), and saving fails with “Delayed Shipment notifications require Enhanced Tracking to be enabled.”
Notification Types
The Notification Types listbox offers exactly these 14 types, listed alphabetically. One setting can cover several types.
| Type | Fires when |
|---|---|
| Consecutive Declines | A gateway records the configured number of transaction declines in a row |
| CS AI Ticket Escalated | An AI-handled support ticket is escalated to a human agent |
| Delayed Shipment | A shipment exceeds the expected time at any stage (requires Enhanced Tracking) |
| Dispute Unresolved | A dispute cannot be resolved automatically |
| Email Inbox Auto-Disabled | An email inbox connection is disabled after repeated connection failures |
| Fulfillment Failed | Order fulfillment fails |
| Fulfillment Provider Disabled | A fulfillment provider is automatically disabled (for example, revoked API access) |
| Gateway Auto-Disabled | A gateway is automatically disabled after failures or declines |
| Gateway Capacity Alert | A gateway reaches one of the capacity thresholds you selected |
| Gateway Deactivated | A gateway is manually deactivated from an orchestrator |
| Orchestrator Capacity Alert | A payment orchestrator reaches one of the capacity thresholds you selected |
| QA Review Required | An order requires QA review |
| SMTP Provider Failed | An SMTP provider fails |
| Webhook Auto-Disabled | A webhook is disabled after too many consecutive failed deliveries |
Billing and security alerts are personal preferences, not team notification settings — toggle them under your Profile > Notification Preferences.
Notification Channels
Each notification setting uses exactly one channel, chosen in the required Notification Channel listbox:
- Email — delivered to the addresses you list under Email Recipients
- Slack — requires a Slack Webhook URL
- SMS — delivered to the US phone numbers you list under SMS Recipients
To use more than one channel for the same events, create a separate notification setting per channel.
Every alert is also written to the in-app notification bell automatically. In-app delivery is not configurable and cannot be switched off.
Email Notifications
Email alerts go only to the addresses you enter under Email Recipients — they are not sent to your account email automatically.
- Configure which events trigger emails by selecting the types on the setting
- Add as many recipient addresses as you need with Add another email
- Alerts are sent as the events occur; there is no digest or frequency option
In-App Notifications
Notifications appear in the Spark CRM notification bell.
- Alerts appear in the bell on the next page load or Livewire refresh; they are not pushed to the browser live
- Click to navigate to relevant page
- Mark individual notifications as read, or use Mark all as read
Configuring Notifications
Step 1: Navigate to Notifications
- Go to Settings in the sidebar
- Click Notifications in the left menu
Step 2: Add a Notification Setting
Click Add Notification (top right, or in the No Notification Settings empty-state card). In the Add Notification Setting flyout, select one or more Notification Types, select a single Notification Channel, add the recipients for that channel, leave Enable Notifications checked, then click Save Settings.
Each saved row is one set of types + one channel + its recipient list; add another row to send the same events over a different channel.
To change an existing setting:
- Find the saved setting in the table (columns: Types, Channel, Recipients, Status)
- Use the row menu to Edit, Activate/Deactivate or Delete the setting. Channel is chosen inside the flyout in the required Notification Channel listbox (Email, Slack or SMS) — to use more than one channel, create a separate setting per channel.
In-app bell delivery happens automatically for every alert and cannot be turned off from this screen.
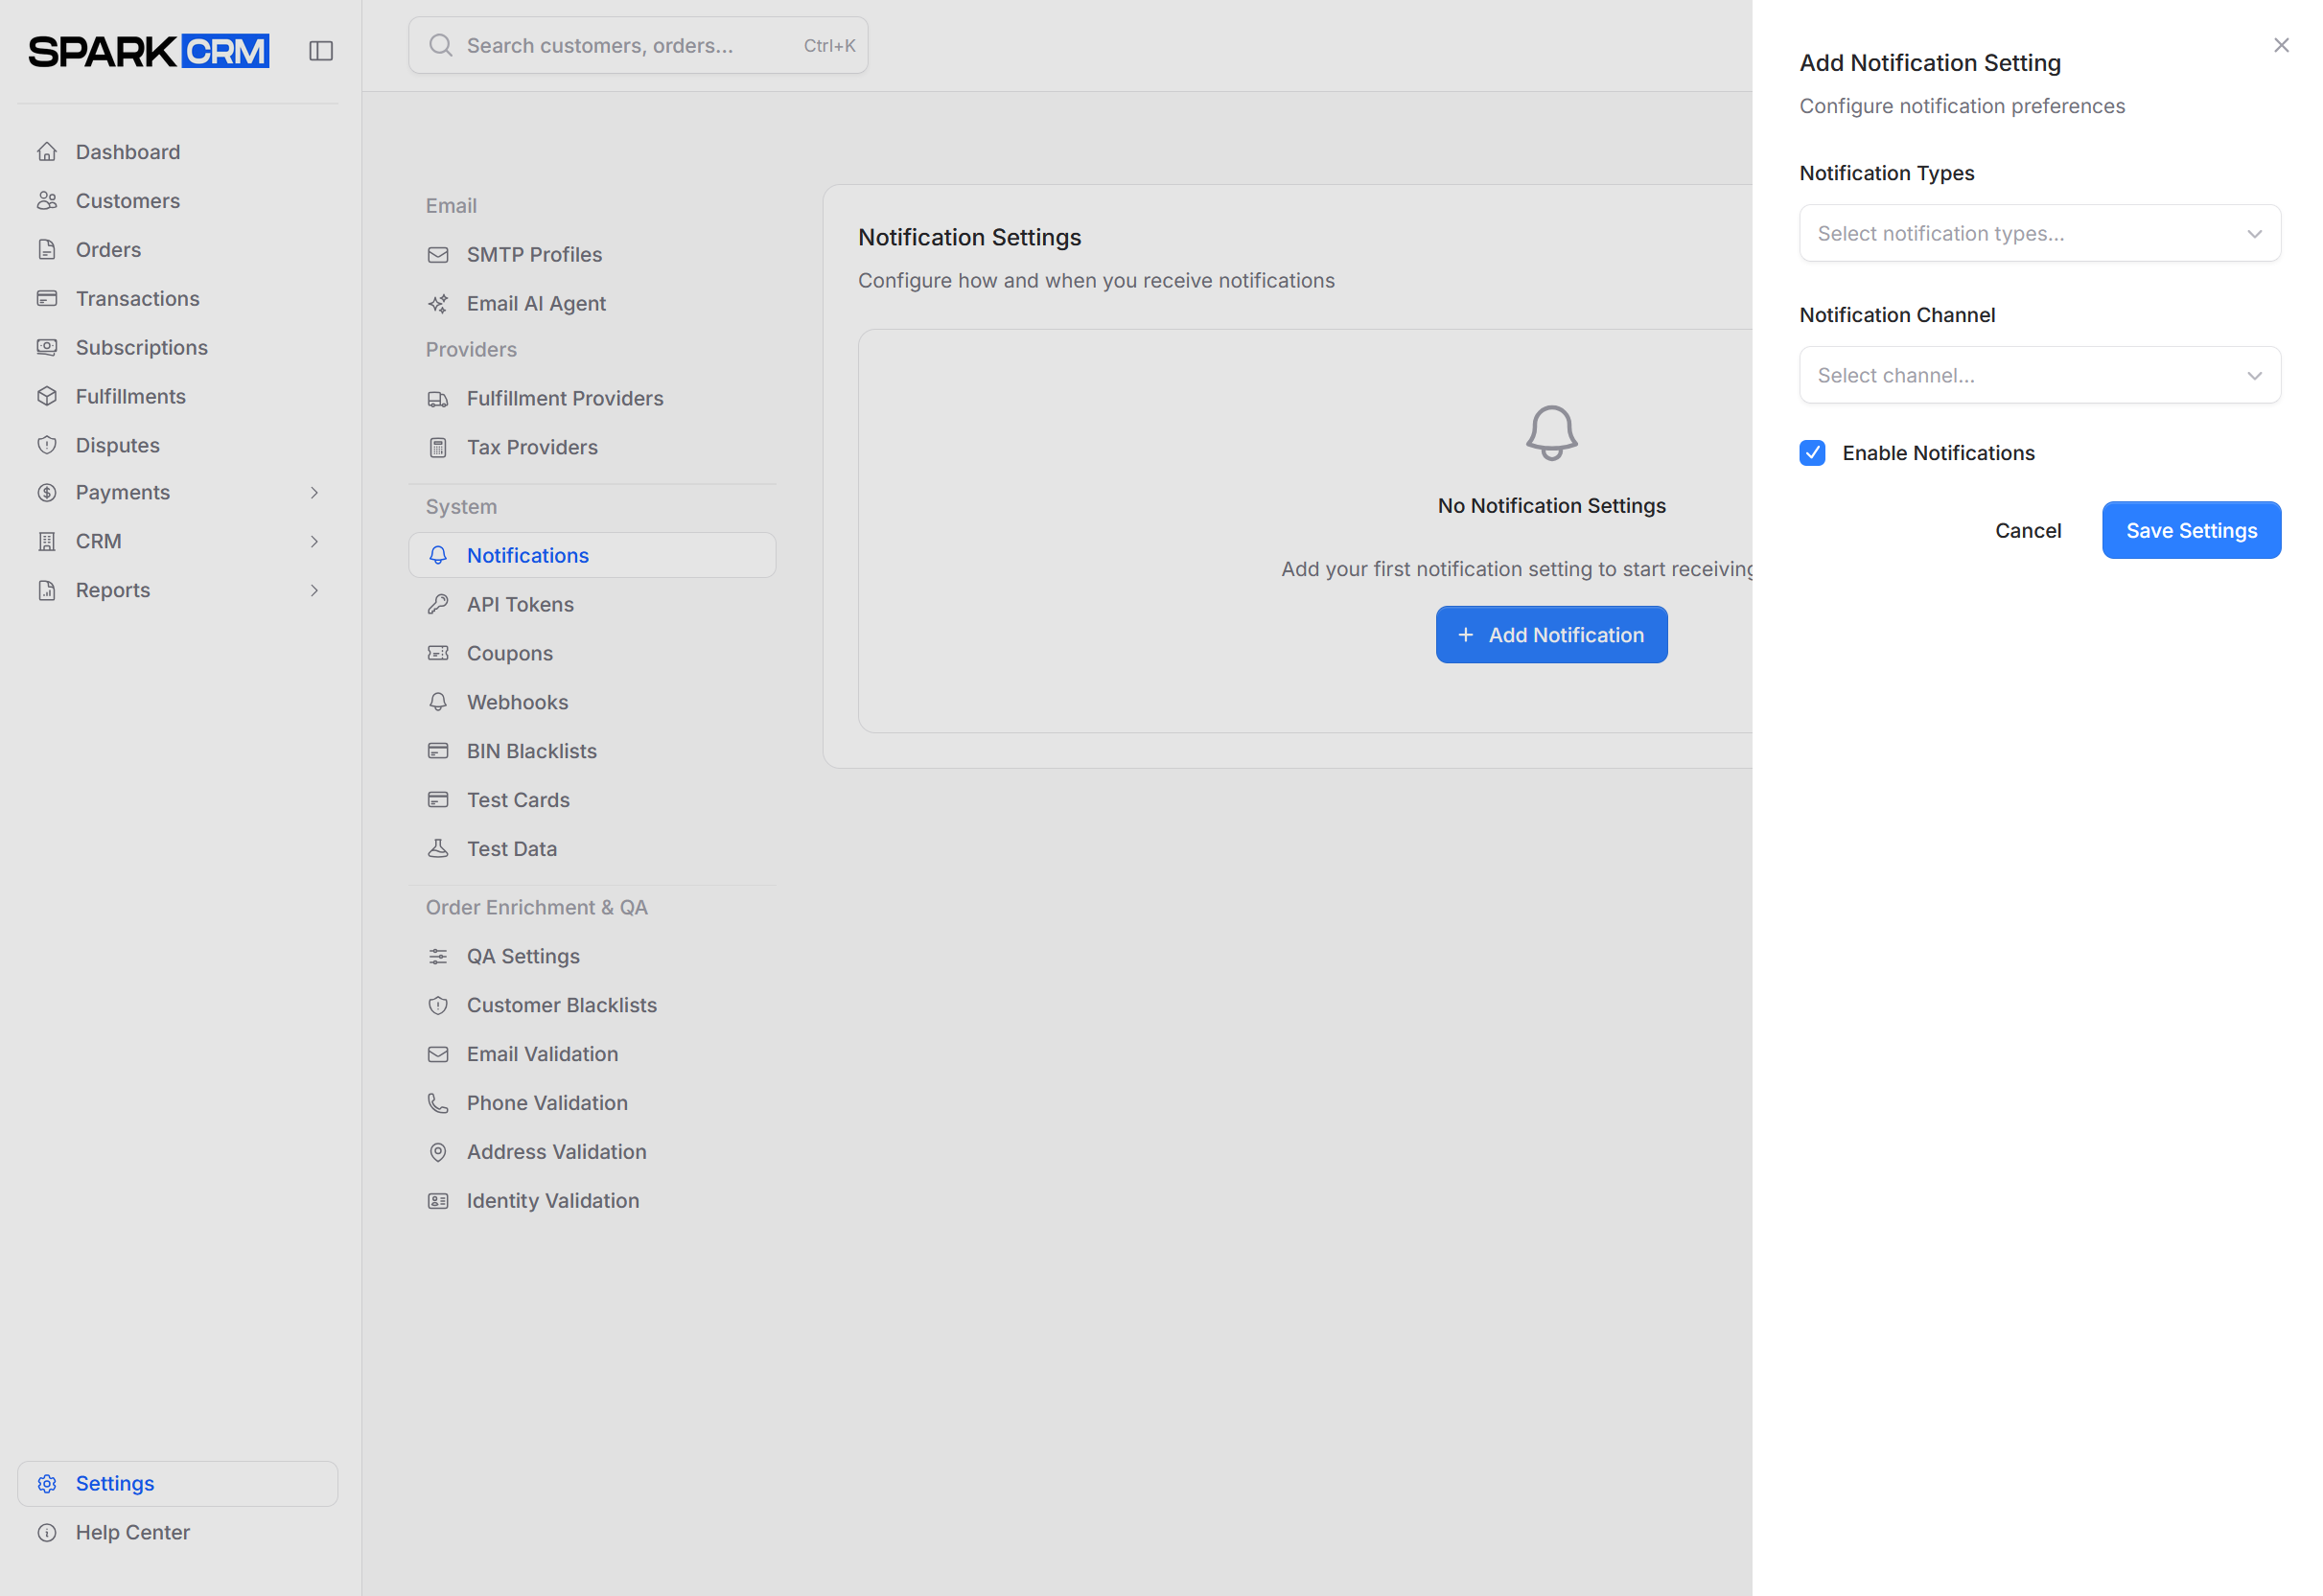
Step 3: Set Thresholds (where applicable)
Selecting certain types reveals extra threshold fields in the flyout:
- Gateway Capacity Alert / Orchestrator Capacity Alert: pick one or more percentage thresholds (50, 60, 70, 80, 90, 95)
- Consecutive Declines: number of declines in a row before alerting (minimum 1, default 5)
- Delayed Shipment: days allowed at each stage (1-30; defaults 3 processing, 2 tracking issued, 2 carrier accepted)
Step 4: Save
Click Save Settings (or Update Settings when editing an existing entry) at the bottom of the flyout.
Alert Thresholds
These are the only alerts with configurable thresholds:
| Alert | Configurable threshold |
|---|---|
| Consecutive Declines | N declines in a row on one gateway (default 5, minimum 1) |
| Gateway Capacity Alert | One or more of 50, 60, 70, 80, 90, 95% |
| Orchestrator Capacity Alert | One or more of 50, 60, 70, 80, 90, 95% |
| Delayed Shipment | Days allowed at each stage, 1-30 (defaults 3 processing, 2 tracking issued, 2 carrier accepted) |
Team Notifications
Account owners and account admins can configure notifications for the entire team. Editing, activating/deactivating and deleting a setting additionally requires the current team to be an ACCOUNT-type team — that gate applies to owners and admins too. Other members also need the relevant notifications:* permission (view_any, create, update, delete); anyone else sees an Access Restricted card instead of the page.
- Configure team-wide alerts
- Add notification recipients
Best Practices
Don’t Over-Notify
- Select only the types you actually act on when creating a setting
- Use Deactivate on settings you no longer need instead of leaving them running
- Every alert is sent as the event occurs, so keep noisy types on their own setting you can switch off
Monitor Critical Events
Always enable notifications for:
- Dispute Unresolved
- Gateway Auto-Disabled and Gateway Capacity Alert
- QA Review Required
- Fulfillment Failed
Regular Review
- Check notification settings periodically
- Adjust thresholds based on business volume
- Remove inactive recipients
Troubleshooting
Not Receiving Email Notifications
Check:
- The setting’s status is Active and its channel is Email
- The addresses under Email Recipients are correct
- Emails aren’t going to spam
- Whether the alert reached the in-app bell — if it did, the alert fired and the problem is delivery
Notification emails are sent by the platform mailer, not by your team’s SMTP provider, so a broken SMTP provider will not stop them.
Too Many Notifications
Consider:
- Deselect notification types you don’t need, or use Deactivate in the row menu to switch a setting off (there is no digest option — alerts are always sent as events occur)
- Raise the capacity, consecutive-decline and delayed-shipment thresholds
Notifications Delayed
Check:
- The in-app bell — every alert is written there even when email is delayed; if the alert is in the bell, contact support to have the server-side mail logs checked
- System performance
Related Topics
- SMTP Providers - Email sending configuration for customer email (not used for notification alerts)
- Team Management - Team notification settings